If you’re new to the world of scrapbooking, you may find yourself overwhelmed by the countless tools available. But fear not, because this beginner’s guide is here to help! In this article, we will explore the essential scrapbooking tools that every beginner should have. From scissors and adhesive to paper trimmers and punches, we will take a comprehensive look at how each tool contributes to the scrapbooking process. So grab your supplies and let’s dive into the wonderful world of scrapbooking!
Essential Scrapbooking Tools: Your Comprehensive Guide to Getting Started
Scrapbooking is a creative and rewarding hobby that allows you to preserve and showcase your memories in a beautiful and personalized way. Whether you’re just starting out or looking to enhance your scrapbooking skills, having the right tools is essential. In this comprehensive guide, we will explore the must-have tools for beginners and provide valuable tips on how to choose, use, and maintain each tool. Let’s dive in!
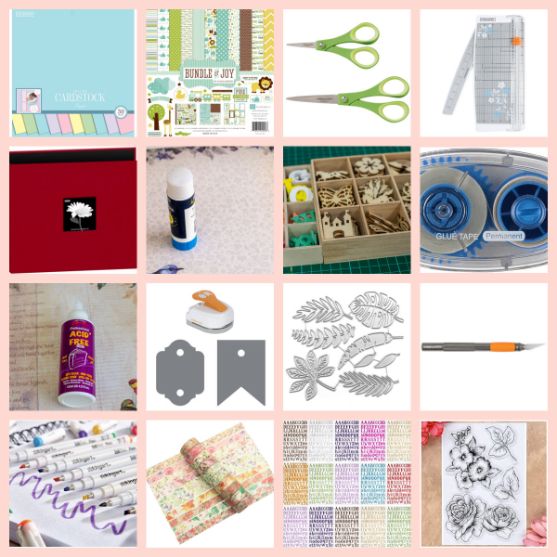
1. Paper Trimmer
1.1 Types of Paper Trimmers
A paper trimmer is a fundamental tool in scrapbooking as it allows you to precisely cut your papers and photos to the desired size and shape. There are two main types of paper trimmers: guillotine trimmers and rotary trimmers.
Guillotine trimmers have a straight blade that moves up and down like a guillotine, making them ideal for cutting large quantities of paper at once. Rotary trimmers, on the other hand, have a circular blade that glides smoothly along a track. These trimmers are known for their versatility and accuracy.
1.2 How to Choose the Right Paper Trimmer
When choosing a paper trimmer, consider the size and thickness of the paper you will be working with. Ensure that the trimmer can accommodate your desired paper sizes and has a durable blade that can handle different materials. Look for additional features like measurement guides and a sturdy base for stability.
1.3 Tips for Using a Paper Trimmer
To achieve clean and precise cuts with a paper trimmer, make sure to always start with a fresh and sharp blade. Place your paper securely against the trimmer guide and hold it firmly in place while cutting. For better accuracy, consider using a ruler as a guide before cutting. Remember to follow the manufacturer’s instructions for maintenance and blade replacement to ensure optimal performance.
2. Cutting Mat
2.1 Importance of a Cutting Mat
A cutting mat is an essential tool for protecting your work surface and extending the life of your blades. It provides a self-healing surface that prevents damage to your tabletop while allowing you to make precise cuts without the risk of slipping.
2.2 Different Types of Cutting Mats
There are various types of cutting mats available, including self-healing mats, glass mats, and magnetic mats. Self-healing mats are the most common and are made from a durable material that closes up after each cut, ensuring a smooth surface for future use. Glass mats provide a sleek and easy-to-clean surface, while magnetic mats are perfect for holding metal dies in place during cutting.
2.3 Tips for Using a Cutting Mat
To ensure the longevity of your cutting mat, avoid using it as a writing surface or placing hot objects on it. Always use a sharp blade when cutting to minimize the pressure applied to the mat. When storing your cutting mat, avoid folding or bending it, as this can cause permanent damage.
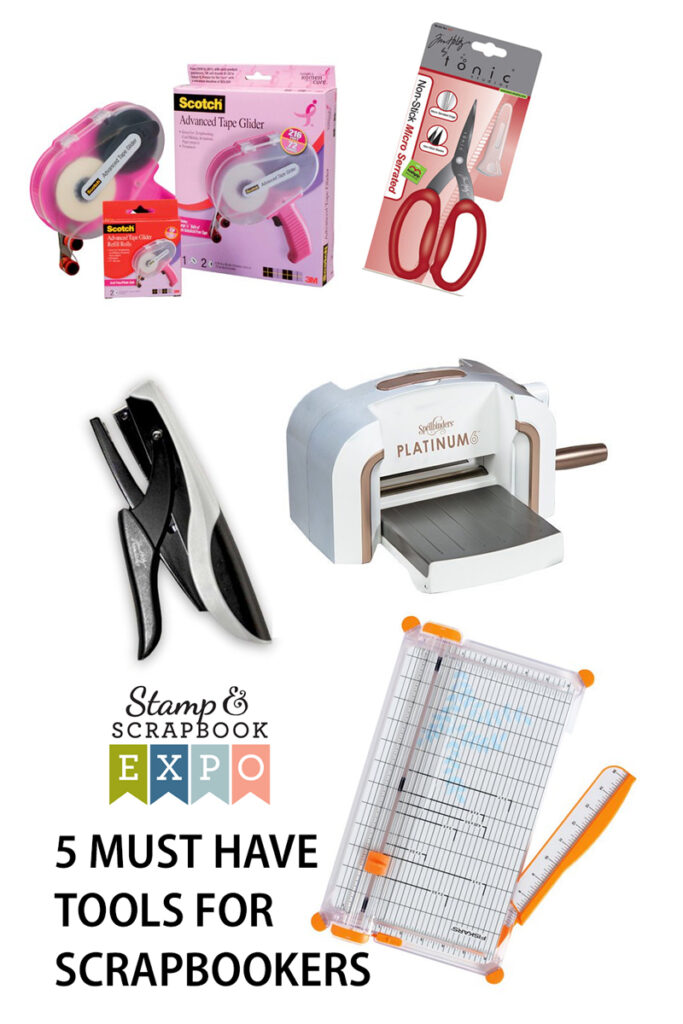
3. Craft Scissors
3.1 Types of Craft Scissors
Craft scissors are indispensable tools for adding intricate details and designs to your scrapbooking projects. There are a variety of craft scissors available, each designed to create specific patterns or edges. Some common types include scallop scissors, pinking shears, and decorative-edge scissors.
Scallop scissors create a gentle wavy edge, giving a playful and whimsical touch to your paper crafts. Pinking shears, with their zigzag blade, are perfect for preventing fabric and paper edges from fraying. Decorative-edge scissors offer endless design possibilities, allowing you to create unique borders and shapes.
3.2 Choosing the Right Craft Scissors
When choosing craft scissors, consider the patterns and designs that best complement your scrapbooking style. Look for scissors with comfortable handles that fit your grip well, allowing for extended periods of use without strain. Additionally, make sure the blades are sharp and made from durable materials to ensure clean cuts.
3.3 Tips for Using Craft Scissors
To achieve precise and professional-looking cuts with craft scissors, practice using them on scrap paper before cutting your desired materials. Hold the scissors at a slight angle for smoother cutting, and don’t forget to clean the blades regularly to maintain their sharpness. It’s also a good idea to keep your craft scissors separate from regular household scissors to avoid dulling the blade prematurely.
4. Adhesive
4.1 Types of Adhesive for Scrapbooking
Adhesive is a crucial element in scrapbooking as it allows you to securely attach photos, papers, and embellishments to your layouts. The type of adhesive you choose depends on the materials you are working with and the longevity you desire for your projects. Some common adhesive options include glue sticks, double-sided tape, liquid adhesives, and adhesive dots.
Glue sticks are perfect for lightweight papers and photos and provide a clean and mess-free application. Double-sided tape offers a strong and permanent bond, making it ideal for heavier elements or when a seamless look is desired. Liquid adhesives provide more versatility and can be used on a variety of materials, including fabric and chipboard. Adhesive dots are convenient and easy to use, especially for attaching small embellishments.
4.2 Choosing the Right Adhesive
Consider the weight, texture, and material of the elements you’ll be adhering when selecting the right adhesive. It’s crucial to choose an adhesive that is acid-free and archival-safe to prevent damage to your photos and preserve the longevity of your scrapbook pages. Test different adhesives on scrap materials before committing to ensure they provide the desired hold and don’t damage your supplies.
4.3 Tips for Using Adhesive
When applying adhesive, start with a small amount and apply it uniformly to the surface. Avoid using too much adhesive, as it can cause your layouts to warp or become bulky. When attaching photos or paper, press firmly and hold in place for a few seconds to ensure a strong bond. For intricate and delicate elements, use a fine-tip adhesive applicator for more control and precision.
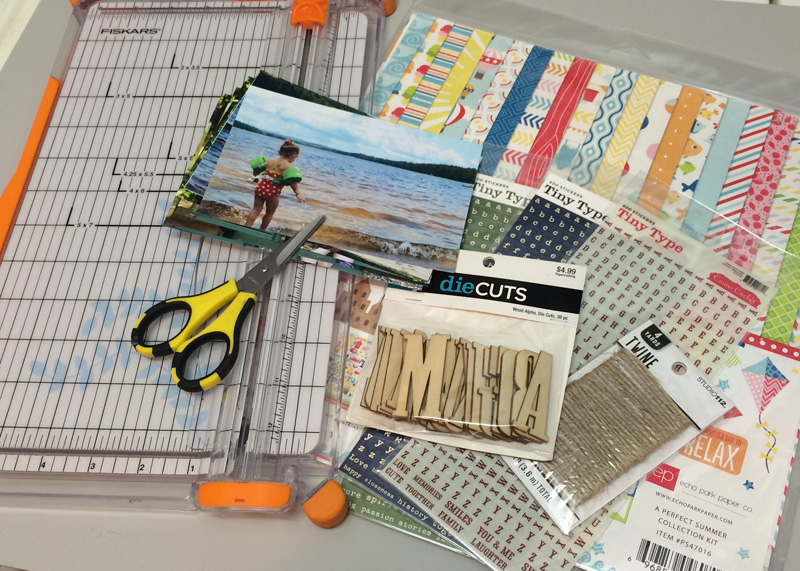
5. Punches and Die Cuts
5.1 Different Punches and Die Cuts
Punches and die cuts are fantastic tools for adding unique shapes and designs to your scrapbook layouts. Punches are hand-held tools that allow you to create consistent shapes, such as circles, squares, and borders. Die cuts, on the other hand, are pre-cut shapes that can be used with a die-cutting machine or manual die-cutting tool.
Depending on your preferences and the theme of your project, you can find punches and die cuts in various sizes and intricate designs. There are punches and die cuts available for almost any shape you can imagine, from flowers and animals to letters and numbers.
5.2 Choosing the Right Punches and Die Cuts
Consider the versatility and compatibility of punches and die cuts when selecting the right tools for your scrapbooking projects. Look for punches with a comfortable grip, smooth punching action, and a built-in waste compartment to keep your workspace tidy. If using a die-cutting machine, ensure that the dies you choose are compatible with the machine you own.
5.3 Tips for Using Punches and Die Cuts
To avoid tearing or damaging your paper, choose the appropriate weight and thickness for the material you’re punching or die-cutting. Before using a punch or die cut, check for any stray paper fragments that may affect the clean-cutting ability. Lubricating the punch or die cut with wax paper can also help ensure a smooth and effortless cut.
6. Rulers and Guides
6.1 Types of Rulers and Guides
Rulers and guides are essential tools for achieving precise measurements and alignment in your scrapbook layouts. There are various types of rulers and guides available, including metal rulers, clear plastic rulers, and shape templates.
Metal rulers are sturdy and provide a straight edge for accurate measurements. Clear plastic rulers, on the other hand, allow for easy visibility of your designs and can be used for drawing lines, shapes, and borders. Shape templates come in different designs and sizes and are perfect for creating consistent shapes or patterns.
6.2 Choosing the Right Rulers and Guides
Consider the measurements and designs you’ll frequently use when selecting rulers and guides for your scrapbooking arsenal. Look for rulers with clear markings and measurements that are easy to read. Shape templates should be made from a durable material that allows for reusability and easy tracing.
6.3 Tips for Using Rulers and Guides
When using rulers and guides, always position them securely on your paper or cardstock to prevent movement during measurement or cutting. Use a pencil or fine-tip pen to mark your measurements lightly, ensuring that they won’t be visible once your layout is complete. Remember to clean your rulers and guides regularly to maintain their clarity and accuracy.
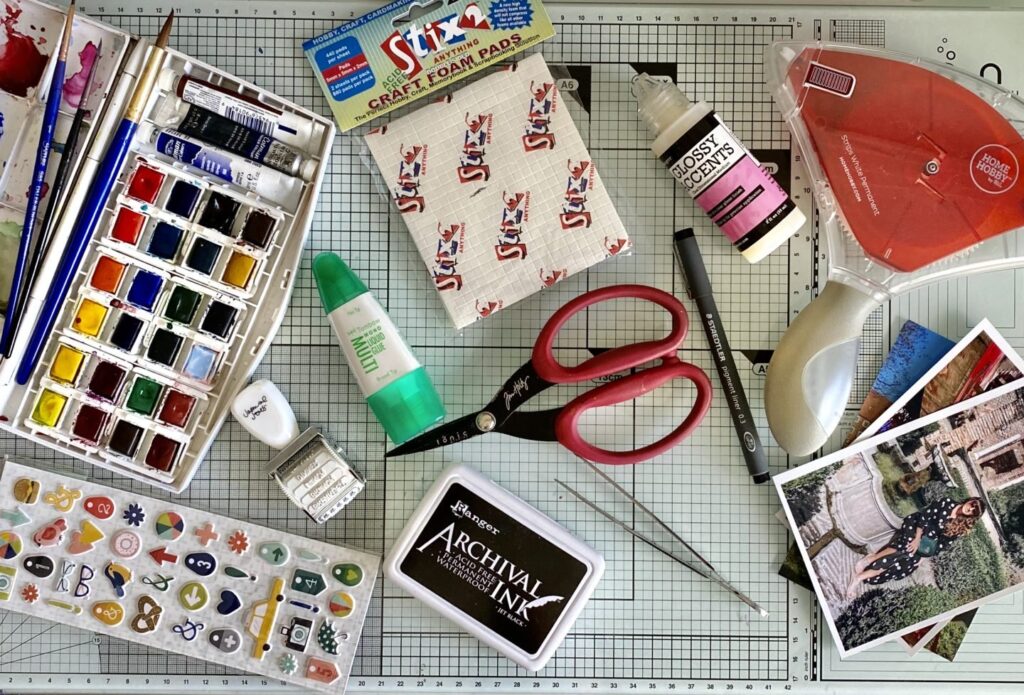
7. Stamps and Ink Pads
7.1 Types of Stamps
Stamps are fantastic tools for adding intricate designs, patterns, and sentiments to your scrapbook pages. There are various types of stamps available, including clear stamps, rubber stamps, foam stamps, and cling stamps.
Clear stamps are made from transparent photopolymer or silicone and provide easy positioning as you can see through the stamp. Rubber stamps are made from molded rubber and provide excellent detail and durability. Foam stamps feature pre-cut designs and are perfect for adding dimension to your projects. Cling stamps have an adhesive backing that allows them to be mounted onto an acrylic block or stamping platform.
7.2 Choosing the Right Stamps
Consider the themes and designs that align with your scrapbooking style when selecting stamps. Look for stamps that are made from high-quality materials and provide crisp and clean impressions. If using clear stamps, ensure that they can be easily cleaned and resticked to maintain their longevity.
7.3 Tips for Using Stamps and Ink Pads
Before stamping, make sure to clean your stamps thoroughly and remove any residual ink. Use an ink pad that is suitable for your chosen stamp type and the material you’re stamping on. To achieve a clear and even impression, apply even pressure when stamping and avoid rocking or sliding the stamp. Heat-setting the stamped images with a heat tool or allowing them to dry fully will prevent smudging or smearing.
8. Decorative Paper and Cardstock
8.1 Different Types of Decorative Paper and Cardstock
Decorative paper and cardstock are the foundation of any scrapbooking project. They provide the backdrop for your photos and embellishments, adding personality and style. There is a wide variety of decorative papers and cardstock available, ranging from patterned designs to solid colors, textured finishes, and specialty papers.
Patterned papers feature various designs, including florals, geometrics, stripes, and more. Solid-colored cardstock is incredibly versatile and can be used as a base, border, or for matting your photos. Textured papers add depth and dimension to your layouts, while specialty papers like vellum, glitter, and foil provide a touch of elegance and visual interest.
8.2 Choosing the Right Decorative Paper and Cardstock
Consider the theme, color palette, and overall aesthetic you want to achieve when choosing your decorative papers and cardstock. Look for acid-free and lignin-free options to ensure the longevity of your scrapbook pages. Consider purchasing paper packs or collections that coordinate well, making it easier to create cohesive and visually appealing layouts.
8.3 Tips for Using Decorative Paper and Cardstock
Experiment with different combinations of patterned designs and solid-colored cardstock to create visual interest and balance on your layouts. Use a paper trimmer or craft scissors to cut your papers to size, ensuring clean and straight edges. To add depth and dimension, consider using foam adhesive or pop dots to lift elements off the page.
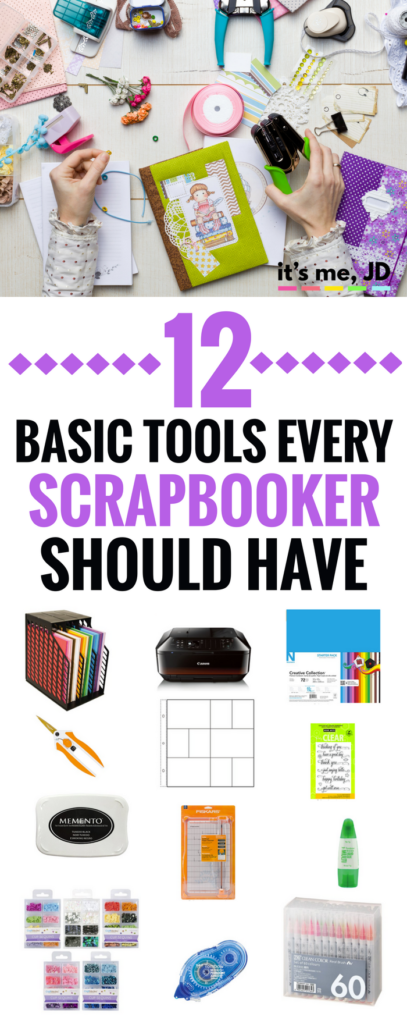
9. Embellishments
9.1 Types of Embellishments
Embellishments are the finishing touches that bring your scrapbook pages to life. They add dimension, texture, and personality to your layouts. There is a wide range of embellishments available, including stickers, brads, rhinestones, die cuts, ribbons, buttons, and more.
Stickers are versatile and easy to use. Brads are small metal fasteners that can be used to attach elements or create interactive features. Rhinestones and other gem embellishments add sparkle and shine to your projects. Die cuts can be used to create intricate designs and shapes. Ribbons and trims add softness and texture, while buttons provide a touch of nostalgia and charm.
9.2 Choosing the Right Embellishments
Consider the theme, style, and color palette of your scrapbook pages when selecting embellishments. Look for embellishments that complement and enhance your photos and papers rather than overwhelming them. To maintain consistency and cohesiveness, select a few key embellishments that you can use throughout your entire project.
9.3 Tips for Using Embellishments
When adhering embellishments, use a strong adhesive that will securely hold them in place. Experiment with layering and arranging your embellishments to create visual interest and balance. Don’t be afraid to mix different textures and materials to add variety and depth to your projects. Use tweezers or a small adhesive dot picker-upper to help with precise placement of small and delicate embellishments.
10. Storage and Organization
10.1 Importance of Proper Storage and Organization
Proper storage and organization are essential for a seamless and enjoyable scrapbooking experience. Good organization allows you to quickly locate and access your tools and supplies, saving you time and frustration. Additionally, it helps protect your materials from damage and extends their lifespan.
10.2 Different Storage Options
There are various storage options available to suit different scrapbooking needs and spaces. Examples include drawer units, storage boxes, rolling carts, shelving systems, and portable totes. Choose storage solutions that are sturdy, easily accessible, and can accommodate the size and quantity of your supplies.
10.3 Tips for Maintaining an Organized Scrapbooking Space
Create designated areas or containers for each category of supplies, such as papers, embellishments, stamps, and tools. Use dividers, label makers, or clear bins to keep everything organized and clearly visible. Regularly declutter and purge unused or unwanted supplies to keep your space clutter-free.
Consider utilizing vertical space with wall-mounted storage systems or pegboards to maximize your storage options. Keep a checklist or inventory of your supplies to avoid purchasing duplicates or running out of essential items. Lastly, make it a habit to clean and tidy up after each scrapbooking session to maintain an organized and inviting workspace.
Remember, a well-organized scrapbooking space allows you to focus on your creative process and enjoy the journey of preserving your cherished memories.
With this comprehensive guide to essential scrapbooking tools, you are now equipped to start or elevate your scrapbooking journey. Each tool serves a unique purpose in enhancing your layouts and making the creative process smoother. Remember to choose tools that align with your preferences and scrapbooking style, and don’t be afraid to experiment and have fun along the way. Happy scrapping!


