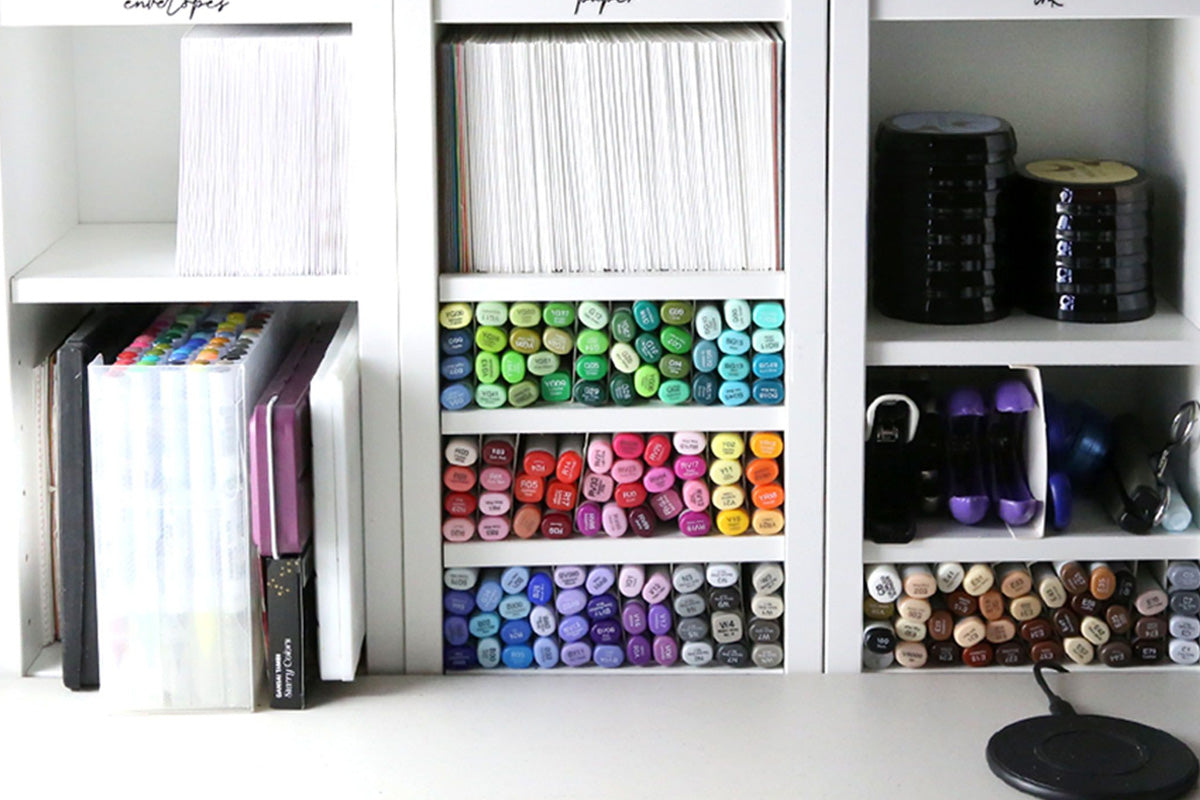
Step into a clutter-free crafting haven with our article, “Organizing Your Scrapbooking Toolkit: Tips for a Neat and Efficient Crafting Space.” Discover ingenious organization ideas and clever storage solutions that will transform your crafting area into a neat and efficient workspace. Say goodbye to the frustration of digging through piles of supplies and hello to a perfectly organized scrapbooking toolkit that will inspire your creativity.
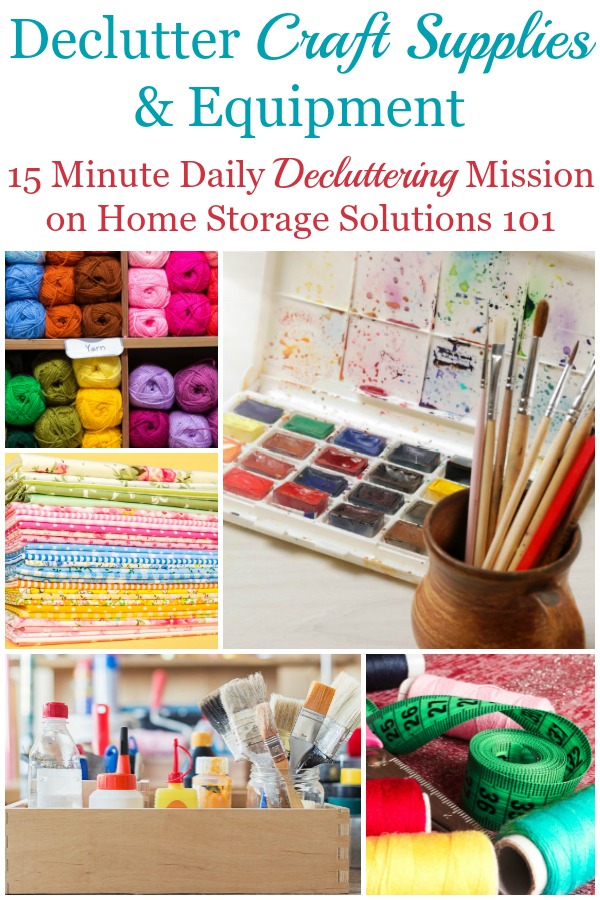
1. Assessing Your Crafting Space
Evaluate your current scrapbooking area
Before diving into organizing your scrapbooking tools, take a step back and evaluate your current crafting space. Is it functioning well for you? Are there any areas that feel cluttered or disorganized? Assessing your space will give you a clear understanding of what needs to be improved and what is working for you.
Consider the layout and functionality of your space
Consider the layout and functionality of your crafting area. Can you easily reach your supplies? Is there enough workspace for you to comfortably work on your projects? Take note of any areas that need improvement, such as rearranging furniture or removing unnecessary items that may be taking up valuable space.
Identify any potential storage limitations
After assessing your current crafting space, it’s important to identify any potential storage limitations. Are your supplies overflowing or scattered around the room? Do you have enough storage options to keep everything organized? Understanding your storage limitations will help you find creative solutions to maximize your space effectively.
2. Sorting and Categorizing
Gather all your scrapbooking supplies in one place
To start organizing your scrapbooking toolkit, gather all your supplies in one place. This will make it easier to see everything you have and determine what needs to be sorted and organized. Take out your paper, stickers, cutting tools, markers, and any other scrapbooking supplies you may have.
Sort your supplies into categories
Once you have all your supplies in one place, it’s time to sort them into categories. This will help you identify what you have and make it easier to find what you need when working on your projects. Categories can include papers, embellishments, tools, adhesives, and anything else that you frequently use in your scrapbooking.
Create a designated space for each category
After sorting your supplies into categories, create a designated space for each category. This can be shelves, bins, or drawers specifically labeled for each category. Having a designated space for each category will ensure that everything has its place and is easily accessible when you need it.

3. Maximizing Storage Options
Utilize vertical storage solutions
When it comes to maximizing storage options, don’t forget about utilizing vertical space. Install shelves on the walls to store items like stamp sets, punches, or even completed scrapbook albums. Hang hooks to hold scissors, rulers, or other tools. Vertical storage solutions help free up valuable workspace and keep your supplies within reach.
Invest in stackable containers and bins
Stackable containers and bins are excellent for organizing smaller items such as beads, eyelets, or buttons. They not only keep your supplies neatly stored but also maximize space by utilizing vertical stacking. Look for clear containers or ones with labels so you can easily see what’s inside without having to open each one.
Consider an over-the-door organizer for frequently used items
An over-the-door organizer is a fantastic option for storing frequently used items such as ribbons, washi tapes, or punches. These organizers typically have multiple pockets or compartments where you can neatly store and display your supplies. Hang it on the back of a door or inside a closet to keep these items easily accessible.
4. Creating a Workspace
Designate a specific area for crafting
Creating a designated area for crafting is crucial to maintain a clutter-free workspace. Whether it’s a spare room, a corner of your living room, or a dedicated table, having a specific area helps you mentally separate your crafting time from other activities. It also allows you to keep your supplies organized in one place.
Choose a suitable work surface
When selecting a work surface for your crafting area, consider the size and material that would best suit your needs. A table or desk with ample space to spread out your materials is ideal. Ensure that it’s sturdy enough to hold your tools and projects without wobbling. A smooth surface is essential for a seamless crafting experience.
Ensure proper lighting and comfort
Proper lighting is essential for any crafting space. Position your workspace near a window to take advantage of natural light or invest in high-quality craft lights that mimic daylight. Additionally, make your crafting area comfortable by adding a comfortable chair or cushion to sit on. Comfort and good lighting will enhance your crafting experience.
5. Labels and Inventory
Label all storage containers and shelves
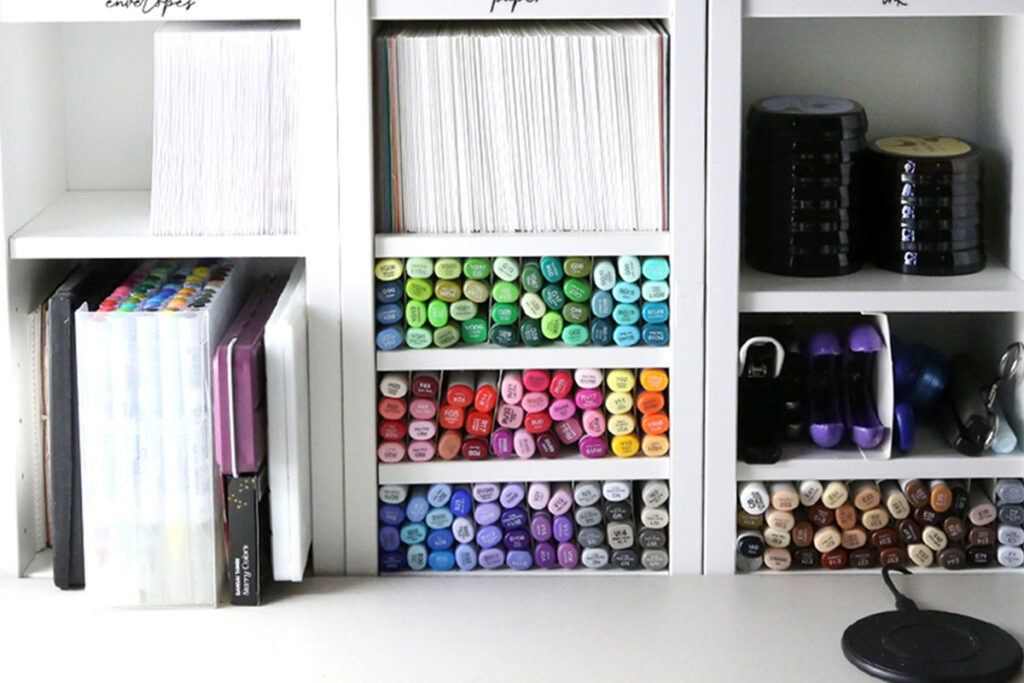
To maintain organization and easily find your supplies, label all storage containers and shelves. Use clear, legible labels that clearly indicate the contents of each container or shelf. Labeling will save you time and energy when searching for specific items, ultimately making your scrapbooking process smoother and more efficient.
Create an inventory list of your supplies
Creating an inventory list of your supplies is a proactive way to keep track of what you have and avoid purchasing duplicates. Make a list of each category of supplies and update it as you acquire new items or use up existing ones. This will help you stay organized and ensure that you always have a clear idea of what you need.
Regularly update your inventory and labels
Keeping your inventory and labels up to date is essential for maintaining an organized crafting space. Regularly review your inventory list and update it as needed. If you rearrange or add new storage containers or shelves, update the corresponding labels. A few minutes dedicated to updating will save you time in the long run.
6. Utilizing Wall Space
Hang pegboards or grids for easy tool access
To keep your tools easily accessible and visible, hang pegboards or grids on your walls. Arrange hooks or baskets on them to hold items like scissors, rulers, and cutting mats. This not only saves space on your work surface but also allows you to see all your tools at a glance. Consider painting the pegboard or grids in a color that complements your crafting area.
Install shelves or floating wall units
Installing shelves or floating wall units is an excellent way to utilize wall space and display your completed scrapbook albums or other decorative elements. Choose shelves that are sturdy and wide enough to accommodate your albums without any risk of them falling. This will not only organize your albums but also add a decorative touch to your crafting space.
Hang clipboards or corkboards for inspirations and ideas
Hang clipboards or corkboards on your walls to display inspirations, ideas, or sketches. Pin up magazine cutouts, photographs, or color swatches that inspire you. This not only adds a personal touch to your crafting space but also keeps your ideas visible and easily accessible when you need creative inspiration.
7. Repurposing and Upcycling
Find creative ways to repurpose everyday items
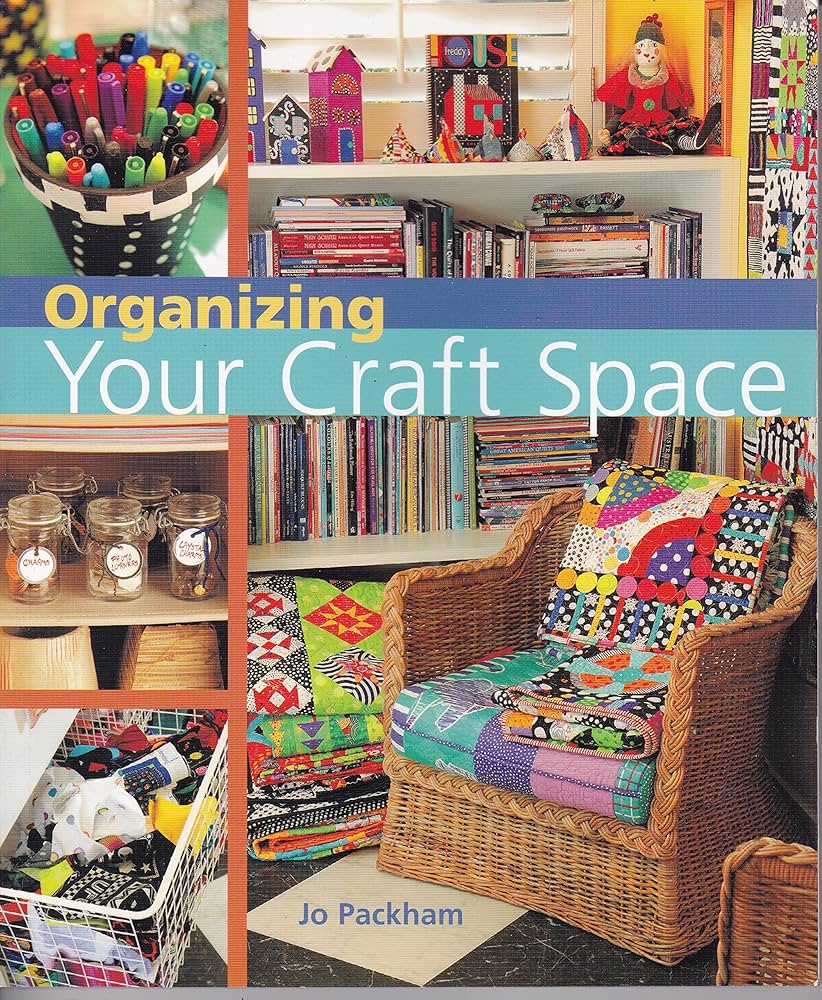
Instead of purchasing new storage solutions, find creative ways to repurpose everyday items you may already have. For example, use mason jars to store small embellishments like buttons or brads. Empty spice containers can be repurposed to hold glitter or small beads. Not only will this save you money, but it also adds a unique touch to your crafting space.
Use jars and containers for small embellishments
Jars and containers are perfect for storing small embellishments that can easily get lost or misplaced. Use glass jars, plastic containers, or even repurposed baby food containers to hold items like sequins, eyelets, or rhinestones. Label them or use clear containers to easily identify the contents without having to open each one.
Transform old furniture into craft storage
If you have old furniture that you no longer use, consider transforming it into craft storage. Repurpose an old bookshelf for paper storage or use an old dresser with drawers for organizing your scrapbooking supplies. Give these pieces a fresh coat of paint or apply decorative contact paper to match your crafting area’s aesthetic.
8. Digital Organization
Explore digital tools for organizing scrapbooking ideas
In addition to physical organizing, don’t overlook the benefits of digital organization. Explore digital tools and apps that can help you organize your scrapbooking ideas. Evernote, Trello, or even simple note-taking apps can be used to create digital collections of layout inspirations, color schemes, or project ideas. Having a digital repository ensures these ideas are easily accessible.
Create an online gallery of layout inspiration
Take advantage of online platforms to create an online gallery of layout inspiration. Websites like Pinterest or Instagram are excellent resources for finding and saving scrapbooking ideas. Create boards or collections to organize different themes or techniques. Having an online gallery allows you to access inspiration wherever you are, whether it’s on your computer or mobile device.
Utilize digital files for storing printable elements
If you frequently use printable elements in your scrapbooking, such as digital papers or embellishments, create a well-organized digital file system. Organize them by category or theme, making it easy to find and access what you need when working on your projects. Consider creating a folder specifically for scrapbooking printables to keep everything in one place.
9. Maintaining Organization
Clean and declutter regularly
To maintain a clutter-free crafting space, it’s important to clean and declutter regularly. Set aside time each month to go through your supplies, discard any items you no longer use or need, and tidy up your work surface. Regular cleaning and decluttering will prevent a buildup of unnecessary items and keep your space organized.
Return items to their designated spaces after use
One of the keys to maintaining organization is returning items to their designated spaces after use. Create a habit of putting things back where they belong rather than leaving them on your work surface. This simple practice will help you avoid clutter and ensure that everything is easily accessible the next time you need it.
Set aside a few minutes each day for tidying up
To prevent your crafting space from becoming overwhelming, set aside a few minutes each day for tidying up. Take a moment to put away any supplies left out, straighten up your work surface, and ensure everything is organized. Not only will this keep your space looking neat, but it will also help you stay motivated and focused on your projects.
10. Seeking Inspiration
Join online communities or forums for organizing tips
For ongoing support and inspiration in your organizing journey, consider joining online communities or forums focused on scrapbooking organization. These communities are filled with like-minded individuals who share tips, tricks, and ideas for keeping your crafting space in order. Engaging with others will provide you with fresh perspectives and additional motivation.
Follow scrapbooking blogs or social media accounts
Expand your sources of inspiration by following scrapbooking blogs or social media accounts dedicated to organization and storage tips. Many talented crafters share their ideas, techniques, and organizational solutions online. By keeping up with their content, you’ll discover new ways to enhance your crafting space and stay motivated in your projects.
Attend crafting workshops or events for inspiration
Take your quest for inspiration offline by attending crafting workshops or events. These gatherings often include sessions or seminars on organizing your supplies and optimizing your crafting space. You’ll not only gain valuable insights from experts in the field but also connect with fellow crafters who can offer their personal experiences and tips.
By following these tips and implementing them in your crafting space, you’ll transform it into a clutter-free haven that maximizes your efficiency and creativity. Remember, organizing is an ongoing process, so make it a habit to regularly assess and maintain your space. With a well-organized scrapbooking toolkit, you’ll be able to dive into your projects with ease and enjoy the creative process to its fullest extent.

