Crafting is a delightful and fulfilling hobby that allows you to unleash your creativity and create incredible masterpieces with your own hands. Whether you are a seasoned crafter or just starting out, having the right tools is essential to make your crafting journey smooth and enjoyable. In this article, we will share with you the top 10 essential crafting tools that every crafter should have in their toolkit. These tools are not only practical but also help enhance the crafting experience, making it even more enjoyable and rewarding. So, let’s dive in and explore these must-have tools that will ignite your creativity and help you create stunning works of art!
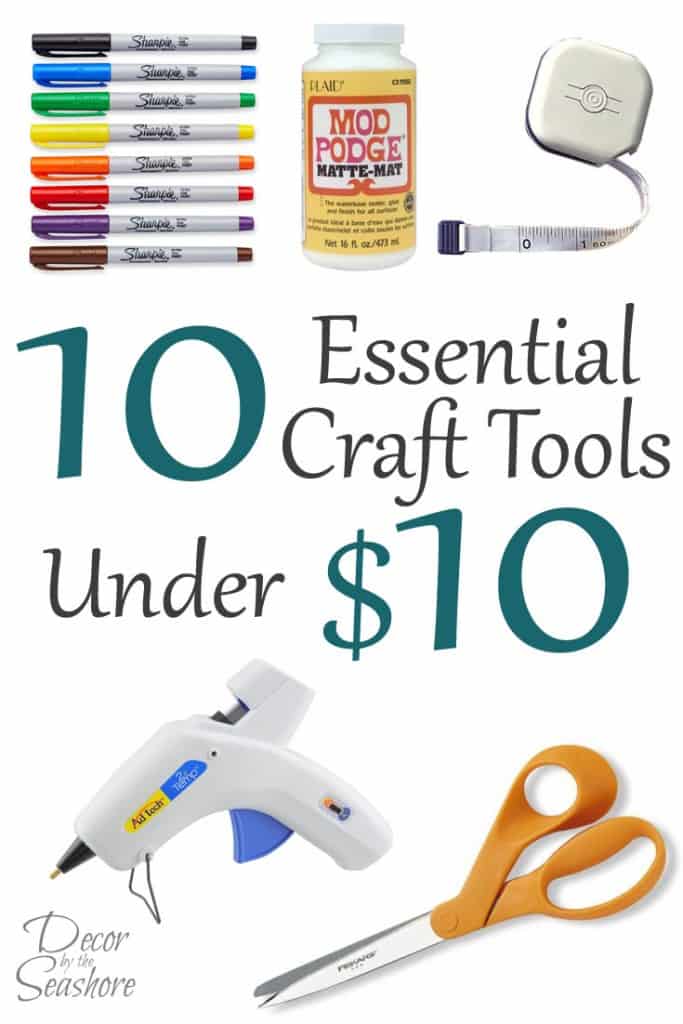
Essential Crafting Tools
Crafting is a wonderful, creative outlet that allows you to express yourself and make beautiful things. Whether you’re a seasoned crafter or just getting started, having the right tools in your toolkit can make a world of difference in your projects. In this article, we’ll explore 10 essential crafting tools that every crafter should have. From scissors to crafting machines, we’ll cover everything you need to know to create masterpieces.
1. Scissors
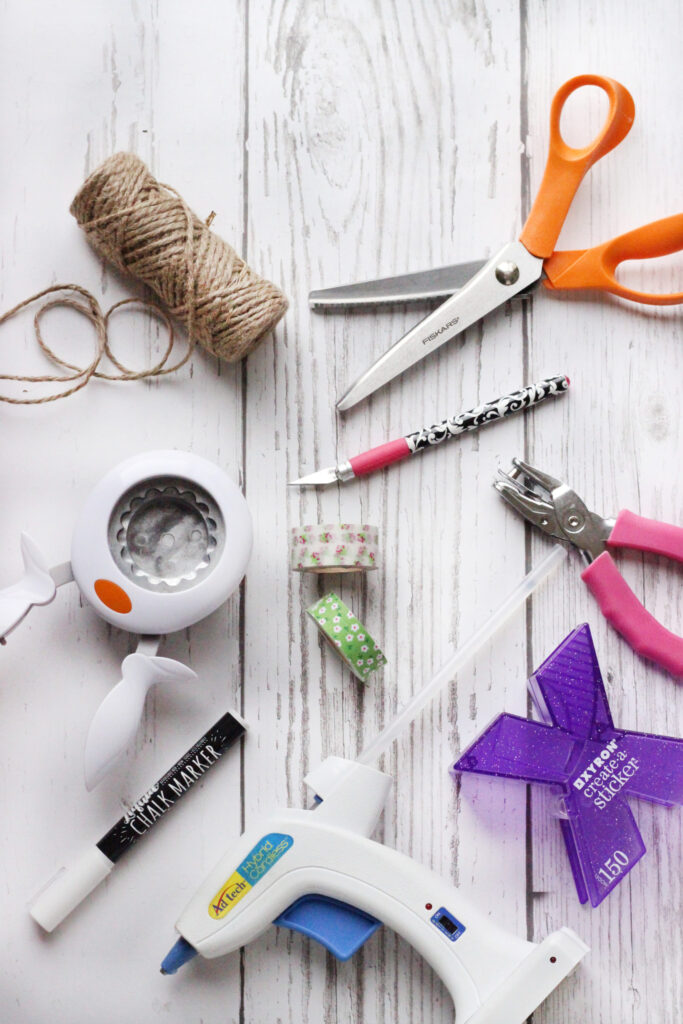
Scissors are a staple in any crafting toolbox. They are versatile tools that can be used for cutting paper, fabric, and other materials with precision and ease. There are several types of scissors available, each designed for specific purposes.
Types of Scissors
Crafting scissors come in a variety of types, including:
- Fabric scissors: These scissors are specifically designed for cutting fabric and have a sharp, serrated edge that helps prevent the fabric from fraying.
- Paper scissors: Paper scissors have a straight edge and are ideal for cutting paper, cardstock, and other lightweight materials.
- Pinking shears: Pinking shears have a zigzag edge that creates a decorative finish on fabric edges and also helps prevent fraying.
- Detail scissors: Detail scissors have a pointed tip and are perfect for intricate cutting tasks like trimming small threads or making delicate cuts.
How to Choose the Right Scissors
When selecting scissors for your crafting projects, consider the type of material you’ll be cutting. If you primarily work with fabric, invest in a good pair of fabric scissors. For paper crafts, opt for a pair of paper scissors. It’s important to use the right scissors for the job to ensure clean, precise cuts.
Maintaining Scissors
To keep your scissors in good condition, it’s crucial to maintain them properly. Regularly clean the blades with a soft cloth to remove any residue or build-up. You can also apply a small amount of oil to the pivot point of the scissors to keep them moving smoothly. Additionally, make sure to store your scissors in a dry place to prevent rusting.
Crafting Projects with Scissors
Scissors are indispensable in a wide range of crafting projects. From cutting fabric for sewing projects to trimming paper for cardmaking, scissors are a versatile tool that you’ll find yourself reaching for again and again.
2. Cutting Mat
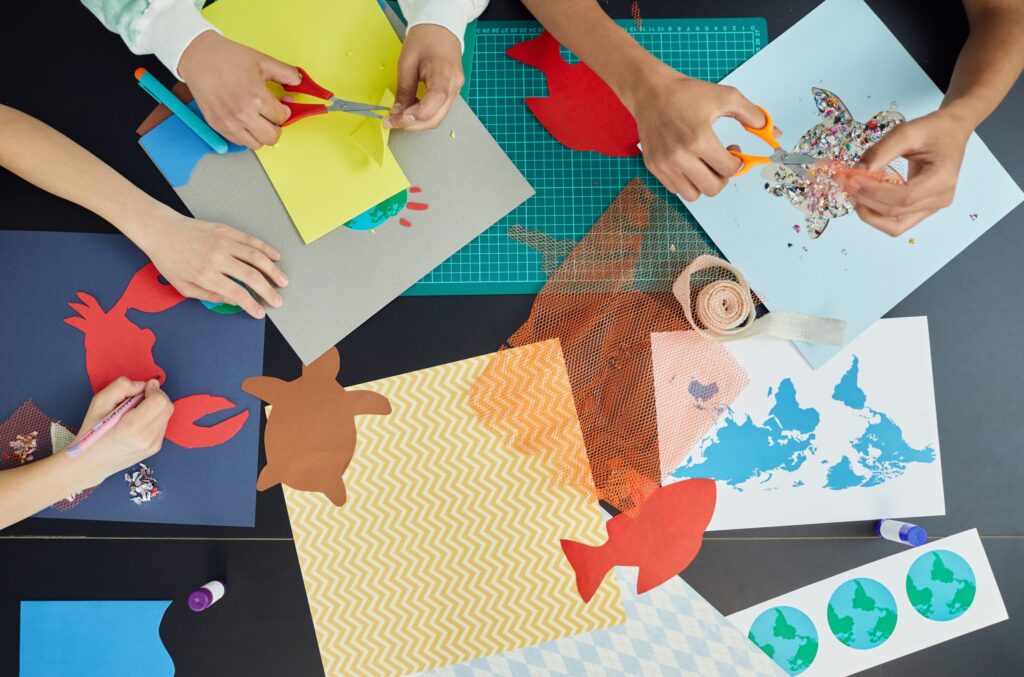
A cutting mat is an essential tool for any crafter who regularly works with sharp cutting tools like craft knives or scissors. It not only protects your work surface from damage but also provides a smooth, self-healing surface for precise cutting.
Benefits of a Cutting Mat
Using a cutting mat offers several benefits:
- Protects your work surface: A cutting mat acts as a barrier between your cutting tools and your work surface, preventing scratches and cuts.
- Self-healing surface: Cutting mats are made from a special material that has “self-healing” properties. This means that any cuts made on the mat close up on their own, preventing the mat from becoming damaged or worn.
- Measurements and guides: Most cutting mats come with grids, measurements, and angles printed on them, making it easier to measure and cut accurately.
Choosing the Right Cutting Mat
When choosing a cutting mat, consider the following factors:
- Size: Determine the size of cutting mat you need based on the space you have available and the size of your projects.
- Thickness: Cutting mats come in various thicknesses. Thicker mats provide more protection to your work surface but can be bulkier to store.
- Material: Look for cutting mats made from high-quality, self-healing materials that are durable and long-lasting.
Proper Care and Maintenance of Cutting Mats
To prolong the life of your cutting mat, avoid using it as a writing surface or exposing it to extreme heat. Store it flat or rolled up (depending on the type of mat) to prevent it from warping. When cleaning the mat, simply wipe it down with a damp cloth and mild soap if necessary. Avoid using harsh chemicals or abrasive cleaners as they can damage the mat’s surface.
3. Craft Knife
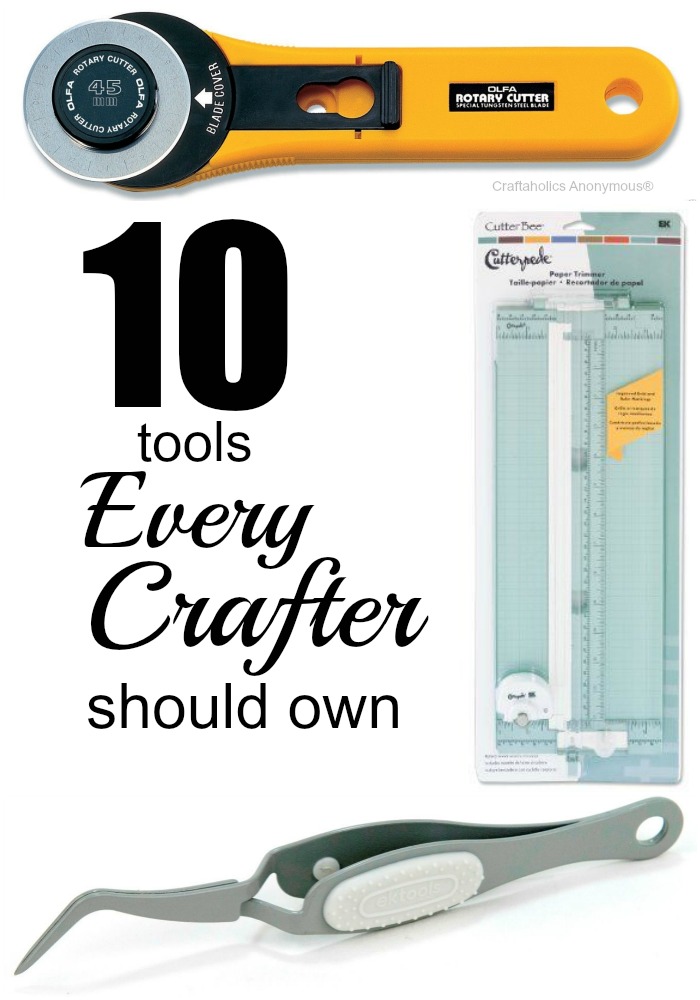
A craft knife, also known as an X-Acto knife or utility knife, is a versatile tool that allows for precise cutting in various crafting projects. It is especially useful for intricate, detailed work that requires clean edges and fine lines.
Different Types of Craft Knives
Craft knives come in several different types, including:
- Standard craft knife: These knives feature a retractable blade and a handle that provides a comfortable grip. They are suitable for a wide range of cutting tasks.
- Swivel craft knife: Swivel knives have blades that rotate to allow for easy maneuvering when cutting curves or intricate shapes.
- Precision craft knife: Precision knives have a smaller, thinner blade that is ideal for intricate cutting, such as paper crafting or creating stencils.
Using a Craft Knife Safely
Craft knives are sharp tools, so it’s important to use them safely to avoid accidents or injuries. Here are some safety tips to keep in mind:
- Use a cutting mat: Always use a cutting mat underneath your work area to protect your surface and provide a stable base for cutting.
- Work in a well-lit area: Ensure you have proper lighting to see what you’re cutting clearly, reducing the risk of accidental slips.
- Keep fingers away from the blade: When using a craft knife, be mindful of where your fingers are in relation to the blade. Avoid placing your fingers directly in front of the blade to prevent accidental cuts.
Crafting Techniques with Craft Knives
Craft knives are incredibly versatile and can be used in various crafting techniques, such as:
- Paper cutting: Craft knives are perfect for creating intricate paper cutouts, adding detail to cards, or making delicate paper embellishments.
- Stencil making: Craft knives can be used to create custom stencils for painting or mixed media projects.
- Vinyl cutting: With the right blade, craft knives can also be used to cut vinyl for creating custom decals or stickers.
4. Ruler
A ruler may seem like a basic tool, but it plays a crucial role in crafting. It provides accurate measurements, straight lines, and precise angles, making it an essential tool for any crafter.
Importance of a Ruler in Crafting
A ruler is essential in crafting for the following reasons:
- Measurement accuracy: A ruler allows you to measure and cut materials with precision, ensuring accurate proportions in your projects.
- Straight lines: Whether you’re cutting paper, fabric, or other materials, a ruler helps you create straight lines for clean, professional-looking finishes.
- Angles and shapes: Rulers with angles marked on them are particularly useful for creating shapes, such as triangles or squares.
Choosing the Right Ruler
When choosing a ruler for crafting, consider the following factors:
- Length: Rulers come in various lengths, so choose one that suits the size of your projects. A longer ruler is better for larger projects, while a shorter ruler is more convenient for small-scale work.
- Material: Rulers can be made from various materials, including plastic, metal, or wood. Plastic rulers are lightweight and affordable, while metal rulers offer more durability. Wooden rulers can provide a classic, aesthetic appeal.
- Measurements: Look for rulers with clear, easy-to-read measurements and markings to ensure accuracy in your projects.
Creative Uses for Rulers
Rulers are not limited to basic measuring and cutting tasks. They can be used creatively in your crafting projects:
- Embossing lines: Use a ruler to create embossed lines on paper, cardstock, or other materials. Simply place the ruler on the surface and trace along it with a stylus or the back of a craft knife to create indented lines.
- Alignment guide: A ruler can be used as a guide when aligning and spacing items on your projects, ensuring everything is positioned evenly and symmetrically.
- Scoring tool: A ruler with a metal edge or a bone folder can be used for scoring paper or cardstock, which creates crisp folds for origami or handmade boxes.
5. Adhesive
Adhesive is a must-have tool for every crafter. Whether you’re working with paper, fabric, or other materials, having the right adhesive can make a significant difference in the quality and longevity of your projects.
Varieties of Craft Adhesive
There are various types of craft adhesives available, each designed for specific materials or applications. Some common types include:
- Craft glue: Craft glue is a versatile adhesive that works well on paper, cardstock, and lightweight materials. It dries clear and is available in various formulas, such as liquid, gel, or glue sticks.
- Double-sided tape: Double-sided tape is perfect for securing lightweight embellishments or attaching paper to surfaces. It provides a strong bond without adding excessive bulk to your projects.
- Fabric glue: Fabric glue is specially formulated to bond fabric together without the need for sewing. It is perfect for quick repairs, adding embellishments, or creating fabric crafts.
- Hot glue: Hot glue guns are commonly used in crafting due to their strong and fast bonds. Hot glue is suitable for a wide range of materials, but it should be used with caution as it can cause burns.
Using Adhesive Correctly
To ensure the best results with adhesive, follow these tips:
- Read the instructions: Different adhesives have specific instructions for application and drying times, so be sure to read and follow the manufacturer’s guidelines.
- Apply adhesive sparingly: When using liquid adhesive, apply it sparingly to prevent excessive moisture or seepage. Too much adhesive can cause wrinkling or warping of paper or fabric.
- Allow drying time: Give the adhesive enough time to dry or cure as per the manufacturer’s instructions. Rushing the drying process may compromise the integrity of the bond.
Alternative Adhesive Options
In addition to traditional craft adhesives, there are also alternative adhesive options that you can explore:
- Glue dots: Glue dots are small adhesive dots that are easy to apply and provide instant adhesion. They are perfect for attaching small embellishments, sequins, or beads.
- Washi tape: Washi tape is a decorative adhesive tape that comes in various colors and patterns. It is perfect for adding a touch of creativity to your projects, and it can be easily repositioned if needed.
Tips for Storing and Preserving Adhesives
To ensure the longevity of your adhesives, consider the following storage tips:
- Store in a cool, dry place: Adhesive products are often sensitive to temperature and humidity. Store them in a cool, dry place away from direct sunlight to prevent them from drying out or degrading.
- Check expiration dates: Some adhesives have expiration dates, so make sure to check the product packaging and discard any expired adhesive.
- Secure caps and lids: Properly seal adhesive containers after each use to prevent them from drying out. For bottles with clogged nozzles, clean them with a pin or a small wire to keep the opening clear.
6. Paintbrushes
Paintbrushes are essential tools for any crafter who enjoys painting, whether it’s on canvas, paper, or other surfaces. With the right paintbrushes, you can achieve various textures, details, and effects in your artwork.
Types of Paintbrushes
There are several types of paintbrushes available, each designed for different painting techniques and mediums. Some common types include:
- Round brushes: Round brushes have a pointed tip and can be used for detailed work, such as creating fine lines or intricate designs.
- Flat brushes: Flat brushes have a rectangular shape with wide and straight bristles. They are ideal for covering large areas quickly or creating sharp edges and straight lines.
- Filbert brushes: Filbert brushes have a flat shape with rounded edges. They are versatile brushes that can be used for both detailed work and broader strokes.
- Fan brushes: Fan brushes have bristles spread out in a fan shape. They are commonly used for creating texture, blending colors, or adding foliage in landscapes.
- Detail brushes: Detail brushes have very fine, thin bristles and are used for precise and intricate work, such as adding small details or highlights.
Selecting the Right Paintbrushes
When selecting paintbrushes, consider the following factors:
- Brush size: Paintbrushes come in various sizes, ranging from very fine to large. Choose the brush size based on the scale of your artwork and the level of detail you want to achieve.
- Bristle type: Bristles can be natural or synthetic. Natural brushes, such as those made from animal hair, are typically used for oil paints, while synthetic brushes work well with acrylic or watercolor paints.
- Quality: Invest in high-quality paintbrushes that have durable bristles and sturdy handles. Quality brushes tend to last longer and provide better control and performance.
Cleaning and Maintaining Paintbrushes
Proper cleaning and maintenance of paintbrushes is vital to ensure their longevity and optimal performance. Here are some tips:
- Clean immediately after use: Rinse the paintbrushes in water or appropriate cleaner immediately after each use to prevent the paint from drying and hardening on the bristles.
- Remove excess paint: Before cleaning, gently squeeze or wipe off excess paint from the bristles using a paper towel or a cloth.
- Use mild soap or brush cleaner: For water-based paints, use mild soap and warm water to clean the brushes. For oil-based paints, use a solvent or brush cleaner.
- Shape and dry properly: After cleaning, reshape the bristles to their original form and allow the brushes to dry completely before storing them. Avoid storing brushes upright with the bristles facing up, as this can cause them to bend or lose their shape.
Creative Painting Techniques
Paintbrushes open up a world of creative possibilities. Here are a few painting techniques you can experiment with:
- Dry brushing: Dry brushing involves using a brush with a small amount of paint to create texture and highlight raised areas in your artwork.
- Blending: Blending involves smoothly transitioning between colors to create gradients or softer edges. This technique can be achieved by using a soft, round brush and gently overlapping colors.
- Impasto: Impasto is a technique that involves applying thick layers of paint to create texture and depth. It can be achieved by using a flat or palette knife to apply the paint.
7. Pliers
Pliers are versatile tools that can be incredibly useful in a wide range of crafting projects. They are designed to grip, bend, or cut various materials, making them indispensable for jewelry making, wirework, and other crafts.
Types of Crafting Pliers
There are several types of crafting pliers available, each catering to different crafting needs. Some common types include:
- Round-nose pliers: Round-nose pliers have round, tapered jaws that are ideal for creating loops, curves, and bends in wires.
- Chain-nose pliers: Chain-nose pliers have flat, tapered jaws that can grip small items or bend wires with precision. They are a staple for jewelry making and other delicate wirework.
- Flat-nose pliers: Flat-nose pliers have flat, wide jaws that provide a stable grip when working with larger or wider materials. They are commonly used for holding or bending flat pieces.
- Bent-nose pliers: Bent-nose pliers have angled jaws that allow for better reach and access to tight or hard-to-reach areas. They are handy for detailed work and working in confined spaces.
- Wire cutters: Wire cutters are pliers specifically designed for cutting wires cleanly and smoothly. They may have different cutting edges to accommodate various wire thicknesses.
Choosing the Right Pliers
When selecting pliers, consider the following factors:
- Material: Look for pliers made from durable materials, such as high-quality steel. This ensures that they will be able to withstand regular use without breaking or warping.
- Handle grip: Pliers should have comfortable, ergonomic handles to prevent hand fatigue during longer crafting sessions.
- Jaw size: Consider the size of the objects or wires you will be working with and choose pliers with jaws that can accommodate those materials.
Practical Applications of Pliers in Crafting
Pliers can be used in various crafting applications, some of which include:
- Jewelry making: Pliers are essential for jewelry making tasks, such as bending wire, forming jump rings, and attaching clasps.
- Wirework: Pliers are essential for wirework techniques like wire wrapping, making wire shapes, or creating wire jewelry components.
- Paper crafts: Pliers can be used to create creases, bends, or folds in paper for origami, paper sculptures, envelope making, and other paper crafting projects.
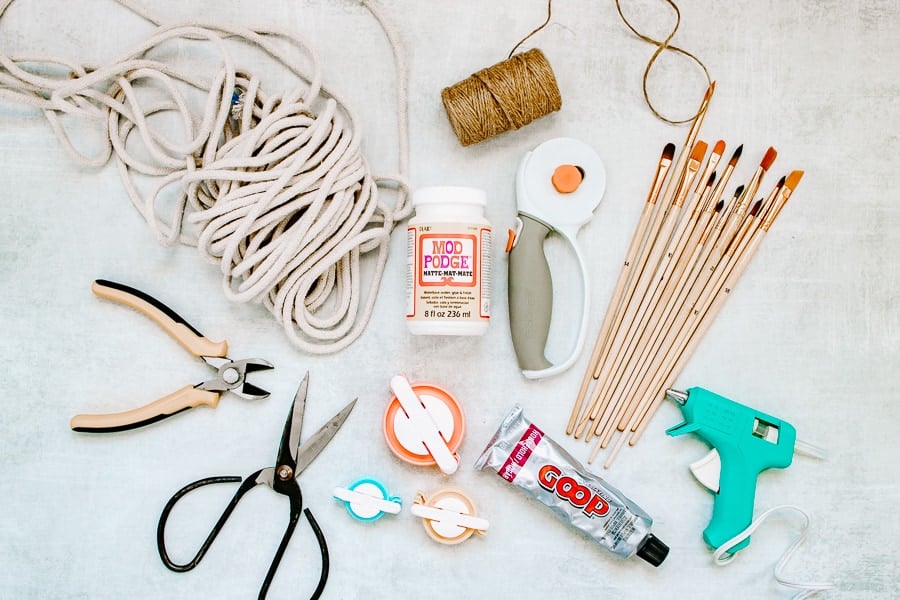
8. Needle and Thread
Needle and thread are classic tools that have been used in crafting for centuries. They are essential for sewing, embroidery, and other needlework techniques.
Different Types of Needles and Threads
There are various types of needles and threads available, each suited for different purposes and materials. Here are some common types:
Needles
- Hand sewing needles: Hand sewing needles come in different sizes and types, such as sharps, betweens, or embroidery needles. They are used for general sewing tasks like stitching seams, repairing clothes, or attaching buttons.
- Embroidery needles: Embroidery needles have larger eyes and sharp points. They are designed for embroidery work and can accommodate thicker threads or multiple strands of embroidery floss.
- Beading needles: Beading needles are long, thin needles with small eyes. They are specifically designed for stringing beads and working with delicate beadwork.
Threads
- Cotton thread: Cotton thread is a versatile, all-purpose thread that is commonly used for sewing and general crafting. It is available in different weights and colors.
- Embroidery floss: Embroidery floss is a divisible thread made of six smaller strands. It is commonly used for embroidery, cross-stitching, or adding decorative stitches to fabric.
- Specialty threads: There are various specialty threads available for specific applications, such as metallic thread for adding shimmer, nylon thread for beading, or heavyweight threads for sewing leather or denim.
Essential Sewing Techniques
Knowing a few essential sewing techniques will allow you to tackle a wide range of crafting projects. Here are a few techniques to get started:
- Hand stitching: Hand stitching is the foundation of sewing. Learning basic stitches like running stitch, backstitch, or slip stitch will enable you to sew seams, repair torn fabrics, or add decorative touches to your projects.
- Sewing buttons: Sewing buttons is a useful skill to have. It allows you to replace missing buttons on clothes or add decorative buttons to fabric projects. Make sure to reinforce the buttons with extra stitches to ensure they are secure.
- Hemming: Hemming is the process of folding and securing the raw edge of fabric to create a clean, finished edge. It is commonly used in garment making or fabric crafts where a neat appearance is desired.
Embroidery and Needlework
Embroidery and needlework are versatile and timeless crafts that you can explore with a needle and thread. Here are a few techniques to try:
- Embroidery stitches: Embroidery encompasses a variety of stitches, such as satin stitch, backstitch, or French knot. Each stitch creates different textures, patterns, or effects, allowing you to add personal touches to fabric, home decor, or accessories.
- Cross-stitching: Cross-stitching is a popular form of embroidery where X-shaped stitches are used to create intricate designs or pictures on fabric. It is often used in decorative items, samplers, or personalized gifts.
Other Craft Projects with Needle and Thread
Needle and thread can be used in various other craft projects, such as:
- Sewing fabric crafts: Needle and thread are crucial for sewing fabric-based crafts like stuffed animals, plush toys, or fabric baskets.
- Sewing paper: Needle and thread can also be used to sew or bind paper projects, such as handmade notebooks, journals, or scrapbooks.
- Mending or alterations: Needle and thread come in handy for small repairs or alterations, such as fixing hems, patching holes, or adjusting the fit of a garment.
10. Crafting Machine
Crafting machines, also known as die-cutting machines or electronic cutting machines, have revolutionized the way crafters work. These machines automate cutting, embossing, or engraving tasks, allowing for precise and intricate designs with minimal effort.
Overview of Crafting Machines
Crafting machines come in different types and models, but they generally work on the same principle. These machines use cutting dies, cartridges, or digital files to feed a material through the machine and cut or shape it according to the design input.
How to Choose the Right Crafting Machine
When choosing a crafting machine, consider the following factors:
- Cutting capability: Determine the types of materials you’ll be working with and choose a machine that can handle those materials. Some machines are designed for paper and cardstock, while others can cut thicker materials like fabric, leather, or even wood.
- Functionality: Look for machines that offer versatile functions and additional features, such as embossing, engraving, or drawing. These extra functions allow for more creativity and flexibility in your projects.
- Software compatibility: If your crafting machine uses digital files or requires software, make sure it is compatible with your computer or preferred design software.
Popular Crafting Projects using Machines
Crafting machines open up a world of possibilities. Here are a few popular projects you can create using these machines:
- Cardmaking: Crafting machines are perfect for creating intricate card designs with ease. You can cut out shapes, emboss patterns, or add decorative elements to make personalized, professional-looking cards.
- Scrapbooking: For scrapbookers, crafting machines are invaluable tools. They can cut out letters, shapes, or frames quickly and precisely, saving time and effort.
- Home decor: Crafting machines can be used to create custom wall art, vinyl decals, or stencils for home decor projects. You can easily personalize your living space with unique designs and patterns.
Maintenance and Care for Crafting Machines
To keep your crafting machine in optimal condition, here are some maintenance tips:
- Clean the cutting mats: Regularly clean the cutting mats to remove any residual debris or scraps. This ensures smooth cutting and prevents material from getting stuck or damaged.
- Replace blades or mats: Over time, blades and cutting mats may wear out and affect the quality of your cuts. Replace them as needed to ensure precise and clean results.
- Follow manufacturer’s maintenance guidelines: Different crafting machines have specific maintenance guidelines, so make sure to read the manufacturer’s instructions and follow them accordingly.
With these essential crafting tools in your arsenal, you’ll be equipped to tackle any creative project that comes your way. Whether you’re a hobbyist or a professional, having the right tools makes all the difference in bringing your imagination to life. So gather your scissors, cutting mat, craft knife, ruler, adhesive, paintbrushes, pliers, needle and thread, crafting machine, and let your creativity flow. Happy crafting!


