Are you tired of constantly losing your scrapbooking tools in a sea of clutter? Searching for the perfect design or finding the right pair of scissors can become a daunting task when your crafting space is disorganized. Fear not, my friend! In this article, we will reveal some valuable tips and storage solutions for organizing your scrapbooking toolkit. Say goodbye to messy workspaces and hello to an efficient crafting area where everything is at your fingertips. Get ready to create beautiful memories without the hassle!
Organizing Your Scrapbooking Toolkit: Tips for a Neat and Efficient Crafting Space
Are you tired of spending precious crafting time searching for your scissors or rummaging through a pile of embellishments to find that perfect sticker? It’s time to take control of your scrapbooking toolkit and create an organized and efficient crafting space. With the right storage solutions and organizational techniques, you can ensure that your tools are easily accessible and that your creative process flows seamlessly. In this article, we will explore various strategies to sort, categorize, and store your scrapbooking tools, as well as tips for maintaining order in your workspace. Let’s dive in!
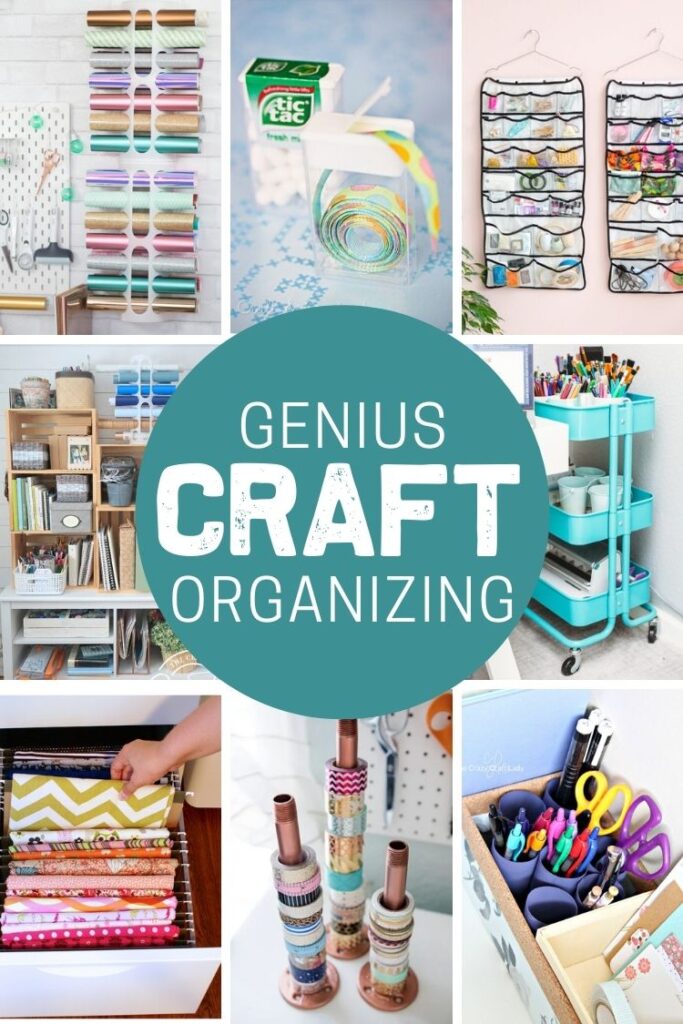
1. Sorting and Categorizing
1.1 Sort by Type of Tool
The first step in organizing your scrapbooking tools is to sort them by type. Gather all your scissors, adhesive tools, writing instruments, and other items and group them together. This will allow you to easily locate specific tools when you need them and prevent duplicates from cluttering your workspace. Create designated areas or containers for each type of tool, ensuring that they are easily accessible and clearly labeled.
1.2 Categorize by Function
Once you have sorted your tools by type, consider categorizing them by function. Group together tools that serve similar purposes, such as cutting tools like scissors and paper trimmers, adhesives and glues, and writing and embossing tools. This will streamline your workflow and make it easier to find the tools you need for specific tasks. You can use dividers or containers within each category to keep items organized and prevent them from getting jumbled together.
1.3 Organize by Size and Shape
In addition to sorting and categorizing your tools, organizing them by size and shape can further optimize your crafting space. Consider storing smaller items like embellishments, brads, and eyelets in clear containers with dividers, making it easier to see and access them. For larger tools such as paper trimmers or cutting machines, utilize shelves or drawers that can accommodate their size. By organizing your tools based on their dimensions, you can maximize your storage capacity and keep your workspace clutter-free.
2. Efficient Storage Solutions
2.1 Use Clear and Stackable Containers
When it comes to storing your scrapbooking tools, clear and stackable containers are your best friends. Opt for containers with transparent sides and lids, as they allow you to quickly identify the contents without having to open each one. Stacking these containers not only saves space but also helps maintain an organized and visually appealing display. Consider using modular storage systems that can be easily customized and expanded as your collection grows.
2.2 Utilize Wall Space with Pegboards
Don’t let your wall space go to waste – utilize it for efficient storage by installing pegboards. Pegboards are versatile and can accommodate a wide range of tools, from scissors and punches to ribbons and tapes. Arrange your tools on hooks or pegs according to their size and accessibility needs. This not only keeps your tools within reach but also adds a decorative element to your crafting area. Customize your pegboard by adding shelves, baskets, or magnetic strips to hold additional supplies.
2.3 Invest in Drawer Units
Drawer units provide a practical and organized storage solution for your scrapbooking tools. Look for units with multiple drawers in various sizes to accommodate different types of tools. Label each drawer to indicate its contents, so you can easily locate specific tools without having to open every drawer. Drawer units can be placed on a desk or tucked away in a cabinet, keeping your tools hidden from view while still being easily accessible.
2.4 Consider Over-the-door Organizers
If you’re short on space or want to maximize every inch of your crafting area, consider utilizing over-the-door organizers. These versatile storage solutions can be hung on the back of a door or inside a closet, providing additional storage for smaller items such as pens, markers, or embellishments. With clear pockets or compartments, you can easily see and access your tools while keeping them neatly organized. Over-the-door organizers are especially useful if you have a limited workspace or if you prefer a clutter-free environment.
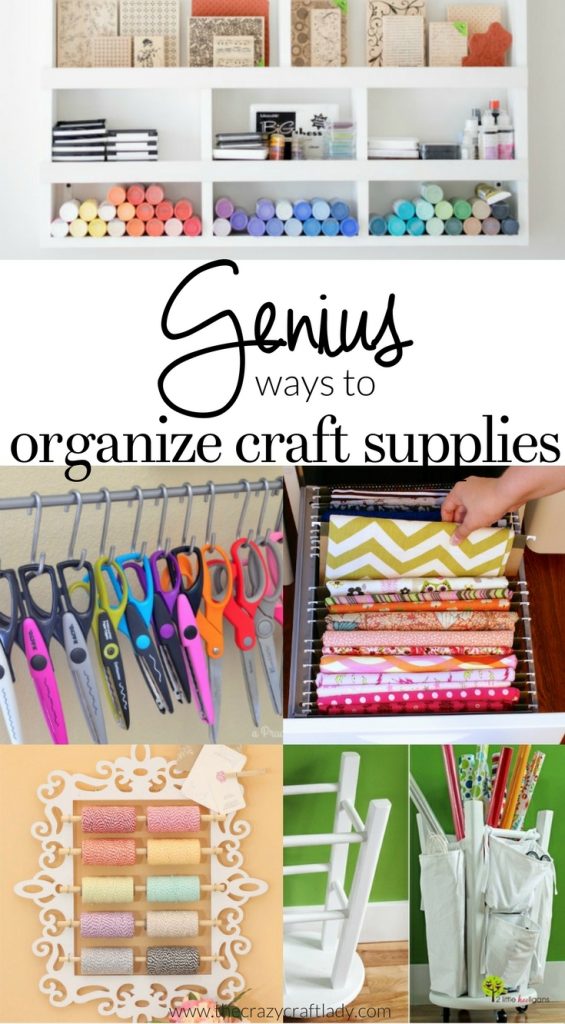
3. Designating a Workspace
3.1 Create a Dedicated Scrapbooking Area
To streamline your scrapbooking process, it’s essential to create a dedicated workspace. Designate an area in your home that is solely dedicated to your crafting activities. Whether it’s a spare room, a corner of your living room, or even a portable cart, having a designated space ensures that all your tools and supplies are easily accessible and helps maintain a sense of organization. Set up a table or desk where you can work comfortably and arrange your storage solutions within arm’s reach.
3.2 Arrange Tools According to Workflow
When setting up your crafting area, think about the flow of your creative process. Arrange your tools and supplies in a way that follows your workflow, starting from the initial stages of choosing papers and embellishments, to cutting and adhering, and finally to adding finishing touches. Keep frequently used tools within easy reach and group them together based on their usage. This will help minimize distractions and save time when working on your scrapbooking projects.
3.3 Maximize Space with Vertical Storage
In a craft space where every inch counts, vertical storage can be a game-changer. Make use of wall space above your workspace by installing shelves or hanging vertical storage units. These can hold frequently accessed tools or display decorative elements such as plants or artwork. You can also utilize wall-mounted bins or pockets to hold smaller items like stickers or stamps. By utilizing vertical space, you create more room on your work surface and keep your tools easily accessible.
4. Labeling and Color Coding
4.1 Label Containers and Drawers
Labeling is an essential part of an organized scrapbooking toolkit. Once you have sorted your tools into containers or drawers, take the extra step to label them. Use clear and legible labels that clearly indicate the contents of each container or drawer. This will save you time searching for specific tools and contribute to a clutter-free environment. Consider using a label maker or printable labels to ensure consistency and professionalism.
4.2 Implement a Color-Coding System
Color-coding is a visual way to organize your scrapbooking tools and supplies. Assign specific colors to different categories or types of tools. For example, you can use blue for cutting tools, red for adhesives, and green for writing instruments. This not only adds a visually appealing element to your workspace but also makes it easier to locate tools quickly. Use colored labels, stickers, or washi tape to implement your color-coding system consistently throughout your storage solutions.
4.3 Use Clear Labels for Transparent Containers
If you prefer using transparent containers for your scrapbooking tools, clear labels are a must. Clear labels allow you to label your containers without obstructing the view of the contents. Use a label maker or printable clear labels and place them on the front or top of your containers. Ensure that the labels are easily readable and long-lasting. Clear labels not only contribute to a clean and organized look but also make it effortless to find the specific tools you need.
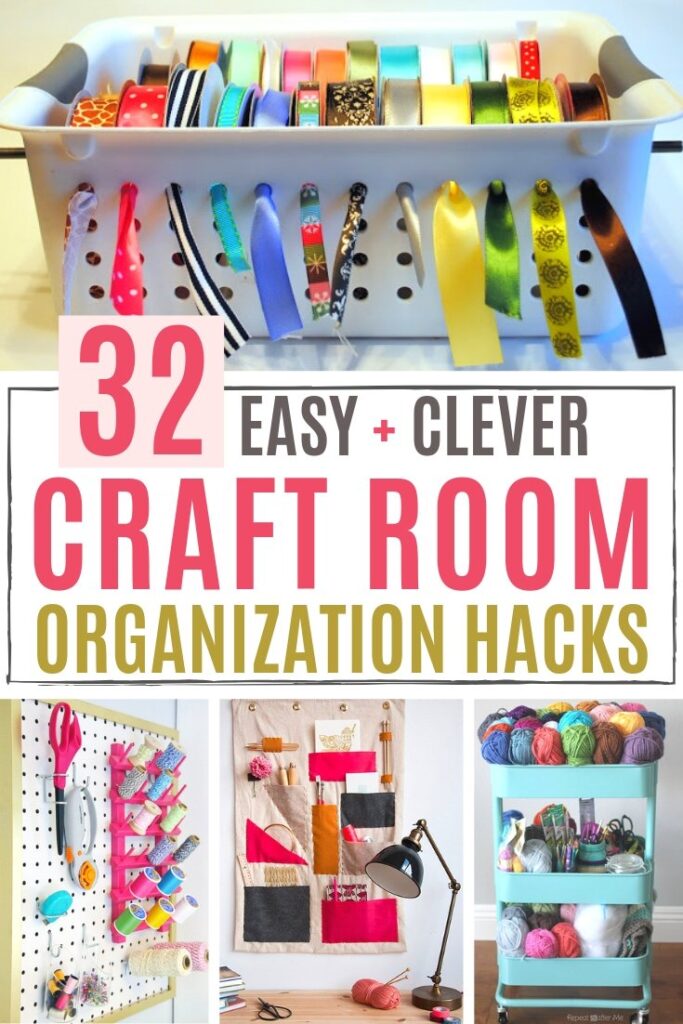
5. Keeping Frequently Used Tools Handy
5.1 Utilize Tool Caddies or Totes
When working on a scrapbooking project, it’s helpful to have your most frequently used tools by your side. Invest in a tool caddy or tote to keep these tools organized and within easy reach. Look for a caddy with compartments or pockets that can accommodate different-sized tools. Consider a portable option with a handle for easy transportation between workspaces. Having a designated spot for your frequently used tools ensures that you can grab them quickly and prevents them from getting lost in the shuffle.
5.2 Hang Tools on a Pegboard Wall
Pegboards aren’t just for wall storage – they can also serve as a convenient way to hang frequently used tools. Install a smaller pegboard near your workspace and hang your most commonly used tools on hooks or pegs. This allows for quick and easy access while keeping your workspace clutter-free. Consider arranging tools in a visually pleasing and functional way, grouping them according to their usage or size. With a pegboard wall, you can turn your tools into a decorative display.
5.3 Incorporate Magnetic Storage Solutions
Magnetic storage solutions offer a unique way to keep your frequently used tools handy. Attach magnetic strips or sheets to the side of your workspace or inside drawers, and use them to hold metal tools such as scissors or rulers. Magnetic containers or trays can also be useful for holding small metal embellishments or paper clips. With magnetic storage, you can maximize your workspace while ensuring that your most-used tools are easily accessible and securely held in place.
6. Organizing Paper and Embellishments
6.1 Sort Papers by Color or Theme
Paper is a fundamental element in scrapbooking, and having an efficient way to organize it can save you time and frustration. Sort your papers by color or theme, and store them in separate folders, binders, or plastic sleeves. This allows you to quickly find the perfect paper for your project without having to sift through stacks of unorganized sheets. Consider using dividers within each color or theme category to further define and separate different types of papers.
6.2 Use Binders for Paper Storage
Binders are a versatile and space-saving solution for storing and organizing your scrapbooking papers. Use plastic sheet protectors or clear pockets to hold individual sheets, and organize them within a binder based on color or theme. Label each binder or section to easily identify its contents. Binders are not only practical but can also be stacked or stored vertically, making them ideal for small or limited spaces. They also offer protection and prevent papers from becoming wrinkled or damaged.
6.3 Store Small Embellishments in Clear Containers
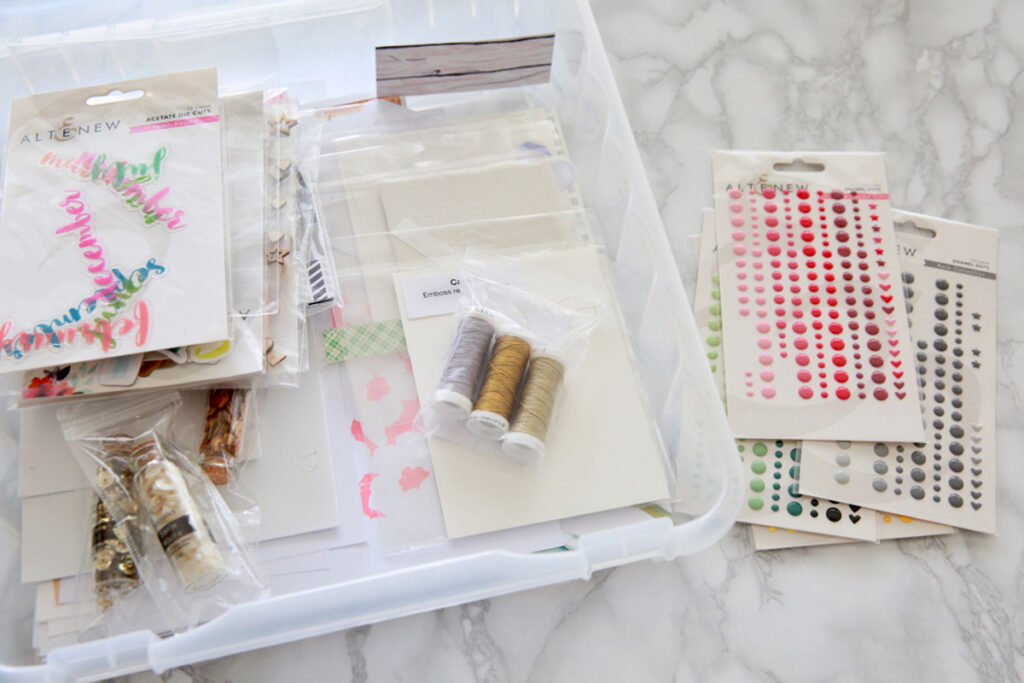
Small embellishments such as stickers, brads, or buttons can easily become disorganized or lost if not properly stored. Use clear containers with dividers or compartments to keep these items organized and easily visible. Arrange them according to type, color, or theme. By using clear containers, you can quickly see what you have and easily access the embellishments you need. Consider using containers with airtight or sealed lids to protect embellishments from dust or moisture.
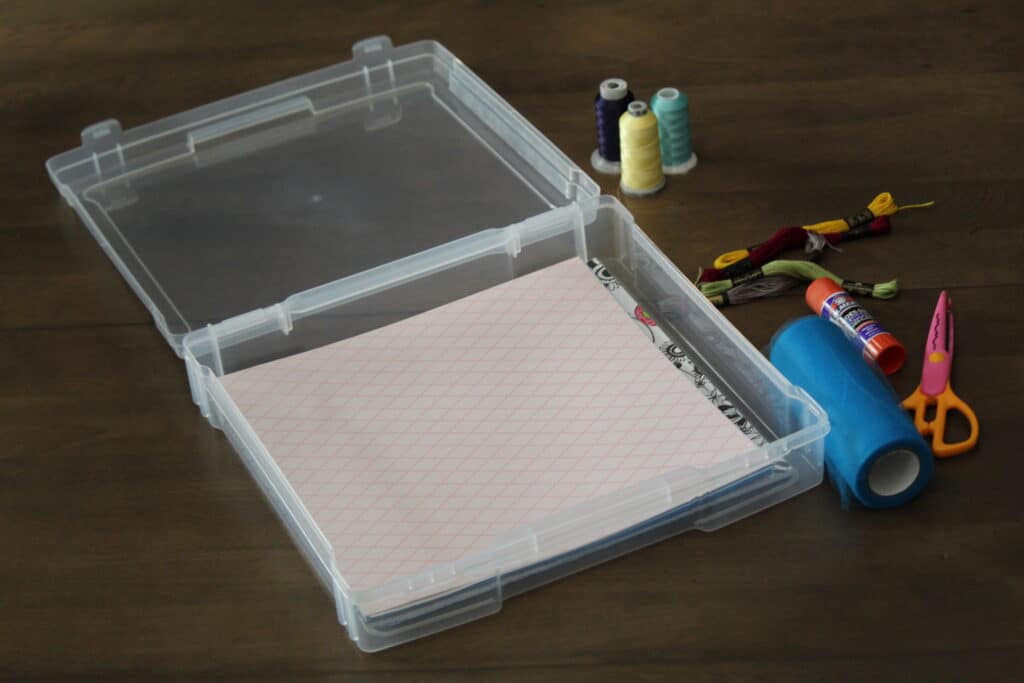
7. Grouping Similar Tools Together
7.1 Keep Cutting Tools in One Location
Cutting tools are essential in scrapbooking and are often used interchangeably. To make your cutting process more efficient, keep all your cutting tools in one location. Whether it’s in a drawer or on a shelf, designate a specific area for your scissors, paper trimmers, punches, and other cutting tools. Consider using blade storage solutions to keep extra blades organized and safely stored. Having all your cutting tools grouped together in one dedicated location saves you time and helps prevent tools from being misplaced.
7.2 Store Adhesives and Glues Together
Adhesives and glues are another set of tools that often go hand in hand in the scrapbooking process. To streamline your adhesive application, keep all your adhesives and glues in one location. You can store them in a designated drawer or use a tray or caddy that can be easily moved around. Consider organizing adhesives by type or purpose, such as liquid glues, tape runners, or foam adhesive squares. Keeping these tools together ensures that you can quickly find the right adhesive for each project without wasting time searching.
7.3 Group Writing and Embossing Tools
Writing instruments and embossing tools are often used simultaneously in scrapbooking projects. To save time and prevent confusion, group these tools together in one location. Consider using pencil cases, small trays, or pen holders to hold writing instruments, markers, pens, and embossing tools. Arrange them according to size or usage preference. Having all your writing and embossing tools in one place ensures that you can easily find what you need when adding handwritten or embossed elements to your creations.
8. Streamlining Workflow
8.1 Create an Assembly Line Setup
Streamlining your workflow can significantly improve your productivity and enjoyment of the crafting process. One way to achieve this is by creating an assembly line setup. Set up your workspace in a way that follows the logical order of your scrapbooking process, from selecting materials to finishing touches. Arrange your tools and supplies accordingly, ensuring they are within arm’s reach. By organizing your space in this manner, you can move fluidly from one task to another without getting sidetracked or wasting time searching for tools.
8.2 Keep Essential Tools Within Reach
When working on a scrapbooking project, certain tools are essential and should always be within reach. Identify these tools based on your personal preferences and the tasks you frequently perform. Whether it’s your favorite pair of scissors, a specific adhesive, or a ruler, keep these essentials nearby on your work surface. You can use a tool tray, organizer, or even a small portable cart. Having these tools easily accessible not only saves time but also keeps you focused and engaged in your creative process.
8.3 Utilize Portable Storage Solutions
If you often craft in different locations or prefer a more flexible setup, portable storage solutions are your best bet. Invest in a portable cart or tote that can hold your essential tools and supplies. Look for one with compartments or drawers that can be customized to fit your needs. A portable storage solution allows you to easily transport your crafting materials to different workspaces or events without having to pack and unpack everything. It provides convenience while ensuring that your tools and supplies stay organized and readily available.
9. Maintaining Order and Regular Decluttering
9.1 Schedule Regular Cleaning Sessions
Keeping your scrapbooking tools and workspace organized requires regular maintenance. Schedule regular cleaning and decluttering sessions to ensure that your organizational systems are functioning optimally. Take some time to assess your tools and supplies, discarding any items that are no longer useful or relevant to your crafting projects. Clean and wipe down surfaces, containers, and storage solutions to maintain a clutter-free environment. Regular cleaning sessions not only keep your workspace tidy but also provide an opportunity to reevaluate your organizational strategies and make any necessary adjustments.
9.2 Purge Unnecessary or Unused Tools
As time goes on, you may find that your collection of scrapbooking tools begins to accumulate. To prevent your workspace from becoming overwhelmed with unused or unnecessary items, periodically go through your tools and purge those that no longer serve a purpose. Be honest with yourself about the tools you genuinely use and those that are just taking up space. Consider donating or selling tools that are in good condition but no longer align with your creative style or preferences. By regularly purging unused tools, you create more space for new supplies and maintain an organized and efficient work environment.
9.3 Keep an Inventory Checklist
Maintaining an inventory checklist is an effective way to stay organized and keep track of your scrapbooking tools and supplies. Create a comprehensive list of all your tools, embellishments, papers, and other materials. Update the list regularly to reflect any new additions or removals. This not only helps you remember what you have but also prevents unnecessary purchases and duplicates. Consider organizing the checklist by category or type for easy reference. With an inventory checklist, you can quickly assess your current supplies and identify any gaps in your collection before starting a new project.
10. Creative Display and Decorative Storage
10.1 Showcase Tools as Decorative Elements
If you’re proud of your treasure trove of scrapbooking tools, why not showcase them as decorative elements in your crafting space? Consider setting up a display shelf or wall-mounted pegboard to showcase your most aesthetically pleasing tools. Group similar tools or colors together to create an eye-catching arrangement. This not only adds visual interest to your space but also serves as a reminder of the creative possibilities that lie within your collection. Use this opportunity to infuse your personal style by incorporating decorative elements or artwork that complements your creative space.
10.2 Use Vintage or Repurposed Containers
For a touch of charm and nostalgia, consider using vintage or repurposed containers to store your scrapbooking tools. Look for old tins, jars, or trays at thrift stores or flea markets that can hold your scissors, pens, or paintbrushes. Not only do these containers add character to your workspace, but they are also eco-friendly choices that promote sustainability. You can mix and match different containers to create a unique and eclectic storage display. Play around with different sizes, shapes, and colors to create an aesthetically pleasing and functional storage solution.
10.3 Incorporate Personalized Touches
Your scrapbooking space should reflect your personality and ignite your creativity. Incorporate personalized touches that make your workspace truly your own. Hang artwork, quotes, or photographs that inspire you or bring a smile to your face. Use decorative washi tapes or ribbons to add pops of color and pattern to your storage containers. Add a cozy rug, cushions, or curtains to create a comfortable and inviting atmosphere. By infusing your space with personalized touches, you’ll be motivated to spend more time in your craft area and enjoy the creative process to the fullest.
In conclusion, organizing your scrapbooking toolkit is an essential step in creating a neat and efficient crafting space. By sorting and categorizing your tools, utilizing efficient storage solutions, designating a dedicated workspace, implementing labeling and color coding techniques, and keeping frequently used tools handy, you can streamline your workflow and make the most of your creative endeavors. Remember to regularly maintain order in your workspace through cleaning sessions, purging unnecessary items, and keeping an inventory checklist. Finally, don’t forget to add creative touches and make your crafting area a reflection of your unique style and personality. With these tips and strategies, you can transform your scrapbooking toolkit into a well-organized and inspiring space that will enhance your crafting experience. Happy organizing and happy creating!


