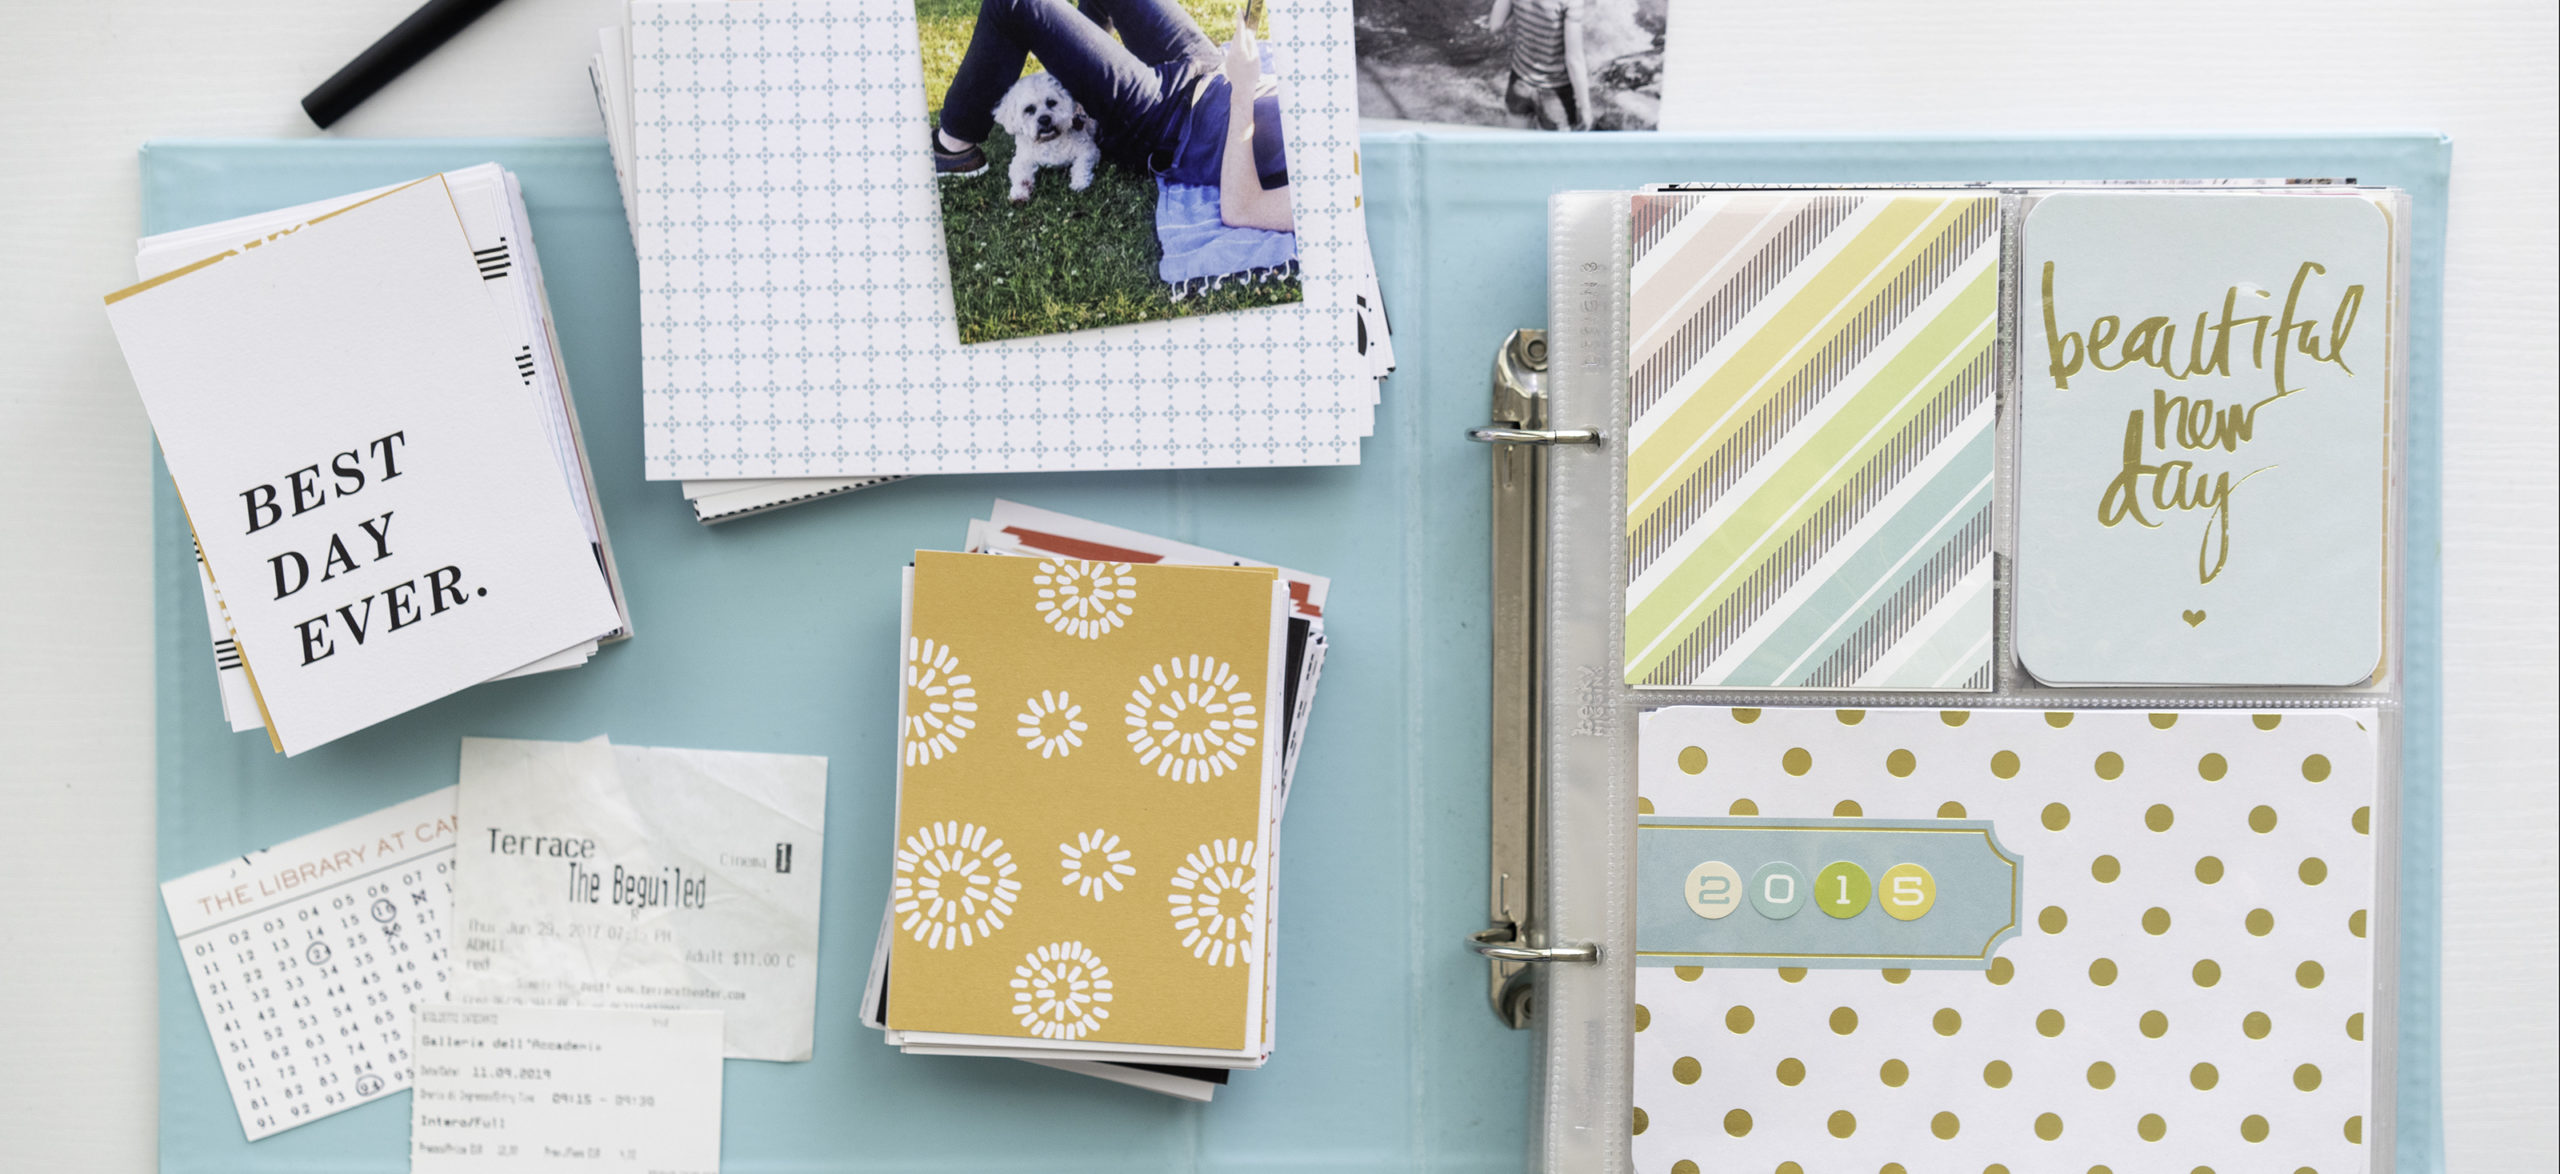
Scrapbooking is a wonderful hobby that allows you to capture and preserve cherished memories in a creative and personal way. However, keeping your scrapbooking toolkit neat and organized can sometimes be a challenge. That’s why we’re here to help! In this article, we’ll provide you with some valuable tips and storage solutions to effortlessly organize your scrapbooking tools. With our suggestions, you’ll be able to create a clutter-free crafting space that will inspire your creativity and make every scrapbooking project a breeze. So, let’s get started on simplifying your scrapbooking toolkit!
Effortless Organization: Simplify Your Scrapbooking Toolkit
Are you tired of spending valuable crafting time searching for the right tool or supply? Do you dream of a neat and efficient scrapbooking space where everything has its place? Look no further! In this article, we will explore a variety of tools, techniques, and strategies to help you effortlessly organize your scrapbooking toolkit.
1. Tools for Effortless Organization
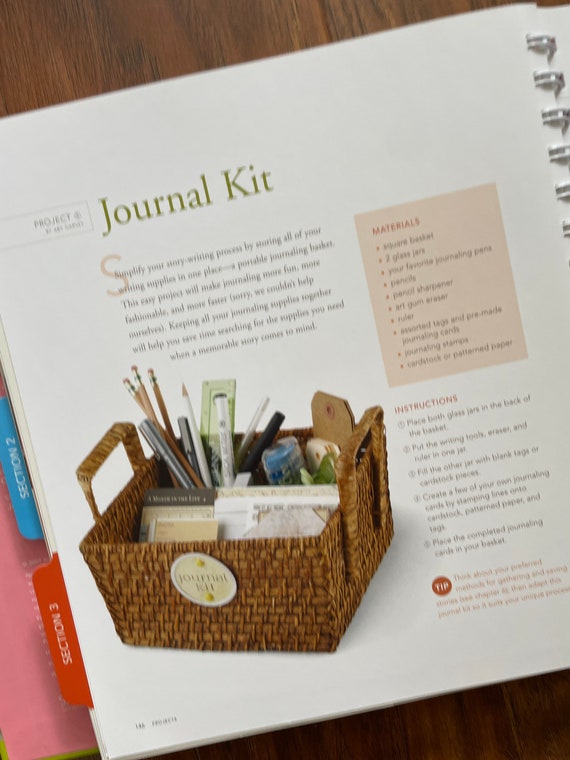
Having the right tools at your disposal can make all the difference when it comes to organization. Consider investing in the following tools to help keep your scrapbooking supplies easily accessible and well-organized:
1.1. Scrapbooking Tool Caddy
A scrapbooking tool caddy is a must-have for any serious scrapbooker. With multiple compartments and pockets, it provides a convenient way to store and transport your essential tools such as scissors, adhesives, and pens.
1.2. Organizer Totes and Travel Bags
For those who like to take their scrapbooking on the go, organizer totes and travel bags are the perfect solution. These bags are designed with multiple compartments and pockets to accommodate all your scrapbooking supplies while keeping them well-protected during transport.
1.3. Rolling Storage Carts
If you have a large collection of supplies, a rolling storage cart can be a game-changer. These carts come in various sizes and configurations, with drawers and shelves to accommodate different types of scrapbooking materials. The best part is that they can be easily moved around your workspace, allowing for maximum flexibility and organization.
1.4. Clear Plastic Containers
Clear plastic containers are a versatile storage solution for scrapbookers. They come in various sizes and can be used to store papers, embellishments, stamps, and more. The transparent design allows you to easily see what’s inside, making it easy to find exactly what you need.
1.5. Gridwall or Pegboard
A gridwall or pegboard is a fantastic way to keep your frequently-used tools within arm’s reach. Simply hang hooks or baskets on the wall-mounted grid or pegboard to hold your scissors, punches, and other essential tools. This not only keeps your workspace organized but also adds a decorative touch to your crafting space.
1.6. Magnetic Strips and Racks
Magnetic strips and racks are ideal for storing metal craft supplies such as metal dies and cutting plates. Simply attach the magnetic strips or racks to the wall or the inside of a cabinet door, and you can easily access your metal tools without rummaging through drawers or boxes.
1.7. Dividers and File Folders
Dividers and file folders are perfect for keeping your scrapbooking papers and cardstock organized. Use dividers to separate different colors or themes of paper, and file folders to store smaller scraps and scraps for future use. This will ensure that your papers are easy to locate and remain in pristine condition.
1.8. Craft Knife and Scissors
Every scrapbooker needs a reliable craft knife and a pair of scissors. Keep these essential tools within reach by storing them in a designated tool holder or caddy. This will prevent these tools from getting lost among your other supplies and save precious crafting time.
1.9. Label Maker
A label maker can be an invaluable asset when it comes to organizing your scrapbooking toolkit. Use it to create clear and legible labels for your storage containers, dividers, and file folders. This will simplify the process of finding and returning items to their proper place, keeping your workspace tidy and efficient.
1.10. Digital Inventory Apps
For scrapbookers with a large collection of supplies, digital inventory apps can be a game-changer. These apps allow you to create a digital catalog of your supplies, making it easy to search for specific items and track your inventory. Some apps even offer barcode scanning capabilities, allowing you to quickly add new purchases to your inventory.
2. Designating Workspaces
A well-designed workspace is essential for efficient scrapbooking. Consider the following tips for designating and organizing your scrapbooking workspace:
2.1. Dedicated Scrapbooking Table
Having a dedicated table or desk for your scrapbooking projects can make a world of difference. Look for a sturdy table with ample surface space to spread out your materials and work comfortably. Ensure that the table is at a height that is comfortable for you to work at for extended periods.
2.2. Adjustable Height Desk
If you prefer to alternate between sitting and standing while crafting, consider investing in an adjustable height desk. This will allow you to easily switch between positions, promoting better posture and reducing the strain on your back and neck.
2.3. Wall-mounted Foldable Desk
For those with limited space, a wall-mounted foldable desk is a fantastic option. These desks can be easily folded up and stored against the wall when not in use, freeing up valuable floor space. When unfolded, they provide a stylish and functional workspace for your scrapbooking projects.
2.4. Repurposed Furniture
If you’re on a budget, consider repurposing furniture items you already have to create your scrapbooking workspace. An old dining table, a sturdy bookshelf, or a repurposed dresser can all serve as excellent foundations for your crafting area. Get creative and think outside the box to make the most of the furniture you already have.
2.5. Proper Lighting
Good lighting is crucial for any crafting space. Choose a workspace that is well-lit and position your table or desk near a window or under a bright overhead light. If natural light is limited, invest in adjustable desk lamps or overhead lights with daylight bulbs to simulate natural light.
2.6. Ergonomic Seating
Sitting for extended periods while scrapbooking can take a toll on your body. Opt for an ergonomic chair with proper back support to minimize discomfort and promote better posture. Consider using a cushion or lumbar support to further enhance your seating comfort.
2.7. Inspiration Board
An inspiration board is a fantastic way to keep your creative ideas and inspiration visible while you work. Use a bulletin board, corkboard, or a magnetic board to display photos, color swatches, sketches, and other sources of inspiration. This visual display will not only spark your creativity but also add a personal touch to your workspace.
2.8. Trash and Recycling Bins
Keep a designated trash bin and recycling bin within easy reach of your workspace. This will help you maintain a clean and clutter-free area, as well as make it easier to dispose of paper scraps, packaging materials, and other waste.
2.9. Whiteboard or Chalkboard
A whiteboard or chalkboard is a useful addition to any scrapbooking workspace. Use it to jot down project ideas, make to-do lists, or keep track of upcoming deadlines. Having a visual reminder of your goals and tasks will help you stay organized and focused.
2.10. Portable Workstations
If you enjoy scrapbooking on the go or attending crafting events, a portable workstation is a must-have. Look for lightweight and compact options that allow you to carry your essential tools and supplies with ease. Portable workstations often have built-in storage compartments and surfaces to work on, making them convenient and efficient for crafting on the move.
3. Efficient Storage Solutions
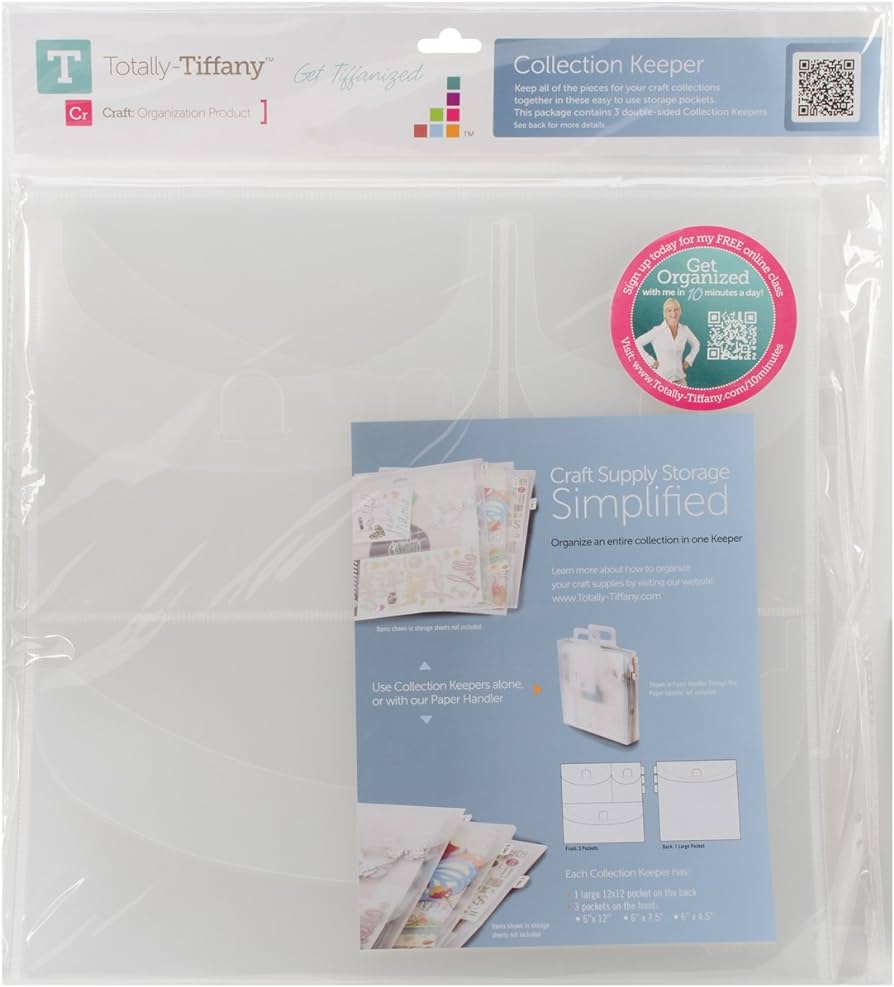
Efficient storage solutions are essential for maintaining a clutter-free and well-organized scrapbooking space. Consider the following storage options to maximize your organization:
3.1. Modular Storage Units
Modular storage units, such as cube organizers, are an excellent choice for scrapbookers. These units are versatile and can be customized to fit your specific needs. Use them to store paper, embellishments, tools, and other supplies in easily accessible compartments.
3.2. Stackable Containers
Stackable containers are a space-saving and efficient storage solution for scrapbooking supplies. Opt for containers with lids to keep your materials dust-free and organized. Stack them on shelves or in cabinets to maximize vertical space in your crafting area.
3.3. Drawer Organizers
Keep your drawers tidy and organized with the help of drawer organizers. Choose dividers and trays that fit your drawers perfectly and use them to separate and categorize your supplies. This will make it easy to find what you need without rummaging through a messy drawer.
3.4. Storage Cabinets
Storage cabinets are a must for scrapbookers with large collections of supplies. Look for cabinets with adjustable shelves and multiple compartments to accommodate different types and sizes of materials. Add labels to the outside of the cabinet doors to quickly identify what is stored inside.
3.5. Hanging Shelves
If you’re short on floor or wall space, hanging shelves can be a lifesaver. Install them above your workspace or on spare walls to store decorative items, completed albums, or frequently used supplies. Hanging shelves add vertical storage space without taking up valuable floor space.
3.6. Tiered Rolling Carts
Tiered rolling carts are a versatile storage option for scrapbookers. These carts can be easily rolled around your workspace, providing quick access to your supplies. Use the tiers to store different categories of materials, such as papers, embellishments, and tools.
3.7. Wall-mounted Racks
Wall-mounted racks are an efficient way to store and display your scrapbooking tools and supplies. Install a rack with hooks or pegs to hang your punches, scissors, rulers, and other frequently used tools. This will keep them within arm’s reach while freeing up valuable workspace.
3.8. Multi-compartment Boxes
Multi-compartment boxes are a great option for organizing smaller embellishments and beads. Look for boxes with adjustable dividers to create custom-sized compartments that can accommodate a variety of supplies. This will help prevent items from getting tangled or mixed up.
3.9. Over-the-door Organizers
Make use of your door space by installing over-the-door organizers. These organizers typically feature clear pockets or compartments, making it easy to see and access your supplies. Use them to store frequently used tools, adhesives, or items you want to keep within arm’s reach.
3.10. Customized Storage Solutions
Don’t be afraid to get creative and customize your own storage solutions. Repurpose items like glass jars, spice racks, or ice cube trays to hold small items such as brads, buttons, or eyelets. Not only will this save you money, but it will also add a unique and personalized touch to your organization system.
4. Sorting and Categorizing
Sorting and categorizing your scrapbooking supplies is essential for easy access and efficient crafting. Consider the following strategies to keep your materials neatly sorted:
4.1. Color-coded Systems
One of the most common sorting methods for scrapbookers is using color-coded systems. Sort your papers, embellishments, and stickers by color to make it easy to find coordinating items for your projects. Use color-coded labels or dividers to keep everything organized.
4.2. Alphabetical Organization
If you prefer a more structured approach, consider organizing your supplies alphabetically. Sort your supplies by product name or by the name of the collection they belong to. Use dividers or file folders with alphabetical labels to create a clear and orderly system.
4.3. Theme-based Sorting
Organize your supplies by themes or categories, such as holidays, seasons, or specific events. This method is particularly useful if you often create themed scrapbook layouts. Store related papers, embellishments, and stickers together to make it easy to find everything you need for a particular theme.
4.4. Chronological Sorting
Chronological sorting is a useful strategy for scrapbookers who document events and milestones in a specific order. Sort your supplies by the date or year of the event you want to document. This will help you locate materials for a particular time period quickly.
4.5. Seasonal Organization
If you frequently create seasonal or holiday-themed scrapbook layouts, consider organizing your supplies by seasons. Keep all your fall, winter, spring, or summer-themed papers, stickers, and embellishments together to streamline your creative process.
4.6. Scrapbook Layout Types
Organize your supplies based on different scrapbook layout types you commonly create. For example, you might have a section for single-page layouts, double-page layouts, pocket pages, or mini albums. This method will make it easy to find the appropriate materials for a specific layout design.
4.7. Project-based Organization
If you often work on multiple projects at once, consider organizing your supplies based on specific projects. Keep all the materials, sketches, and inspiration for each project together in clearly labeled folders or boxes. This way, you can quickly pick up where you left off and avoid mixing up materials between projects.
4.8. Accessory Size and Shape
For scrapbookers who have a large collection of embellishments, organizing them by size and shape can be beneficial. Group similar-sized items together to keep them organized and easy to find. Use dividers or containers with compartments to prevent smaller items from getting mixed up or lost.
4.9. Ribbon and Trim Organization
If you frequently use ribbons and trims in your scrapbooking projects, keeping them well-organized is crucial. Invest in spool holders or ribbon organizers to keep your ribbons untangled and easily accessible. Sort them by color or type to further enhance organization.
4.10. Documenting and Tracking Techniques
Consider keeping a detailed inventory or log of your supplies to make it easier to track and locate specific items. Create a spreadsheet or use an app to document the items you have, including quantities and storage locations. This will help you avoid purchasing duplicate items and keep your inventory up to date.
5. Utilizing Labels and Tags
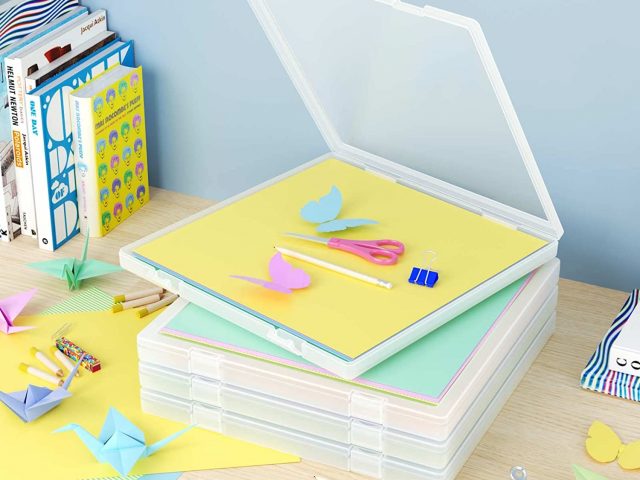
Labels and tags are simple yet effective tools for maintaining an organized scrapbooking space. Take advantage of these labeling techniques to streamline your workflow:
5.1. Labeling Containers and Shelves
Labeling your storage containers and shelves is a fundamental step in maintaining an organized scrapbooking space. Use a label maker or handwritten labels to clearly identify the contents of each container or shelf. This will save you time when searching for specific supplies and ensure that everything is returned to its proper place.
5.2. Tagging Scrapbook Paper
Make it easy to find the perfect paper for your projects by tagging your scrapbook paper. Attach small tags or labels to the corners or edges of your paper, indicating the color, pattern, or collection name. This will allow you to quickly flip through your paper stash and locate the exact paper you need.
5.3. Labelling Embellishments
Small embellishments can be challenging to keep organized. Attach small tags or labels to individual embellishment containers or use clear resealable bags with labels to keep similar items together. This will prevent the loss or misplacement of small items and allow for quick and easy access.
5.4. Indexing Tools and Accessories
Keep a detailed index of your tools and accessories to speed up your search for specific items. Create an organized list or notebook with categories such as adhesives, cutting tools, pens, and stamps. This index will serve as a quick reference guide when you need to find a particular tool or accessory.
5.5. Labeling Scrapbook Kits
To make it easier to locate and assemble scrapbook kits for specific projects or events, consider labeling them. Attach a label to the outside of the kit container or bag, indicating the theme or purpose of the kit. This will save you time when you’re ready to start a new project and ensure that all the necessary supplies are included in the kit.
5.6. Tagging Unfinished Projects
If you have unfinished scrapbooking projects, it’s essential to keep them organized and easily accessible. Attach tags or labels with project names or descriptions to the containers or bags holding the materials for each project. This will help you remember what you were working on and pick up where you left off.
5.7. Color-coding Categories
Color-coding categories can be a helpful visual aid when organizing your scrapbooking supplies. Assign a specific color to each category, such as paper, stickers, or tools, and use colored labels or tags to indicate these categories. This method allows you to quickly identify and locate specific types of supplies.
5.8. Marking Frequently Used Supplies
Identify your most frequently used supplies by marking them with a special symbol or color. For example, you could place a colored dot or star sticker on the containers or packages of your go-to adhesives or pens. This will make it easy to locate these essential tools and supplies without wasting time searching for them.
5.9. Labeling Photographs
If you print and store your photographs for scrapbooking, consider labeling them for easy identification. Write the date, event, or other relevant information on the back of each photo or use adhesive labels directly on the front. This will make it easier to organize your photos chronologically or by theme when it comes time to create your layouts.
5.10. Organizing Scrapbooking Magazines and Books
If you have a collection of scrapbooking magazines and books, keep them organized and accessible with labels. Categorize them by topic or publication date and use adhesive labels or tabs to indicate these categories. This will make it easier to find specific articles, layouts, or techniques when you need them.
6. Digital Organization Strategies
In the digital age, it’s essential to have strategies in place to organize your digital scrapbooking supplies. Consider the following digital organization strategies to keep your digital files easily accessible:
6.1. Digital Scrapbooking Software
Invest in digital scrapbooking software to efficiently manage and organize your digital supplies. These programs allow you to store and categorize digital papers, elements, and templates in a digital library. Use folders and tags within the software to create a logical and customized organizational system.
6.2. Cloud Storage Solutions
Back up your digital scrapbooking files to a cloud storage solution to ensure they are safe and accessible from multiple devices. Services like Google Drive, Dropbox, or iCloud offer convenient and secure storage options for your digital files. Organize your files into folders and subfolders to keep them well-structured and easy to find.
6.3. Photo and Document Scanning
Scan and digitize paper-based scrapbooking materials such as photos, ephemera, and handwritten journaling. This will allow you to incorporate these items into your digital scrapbooking projects and keep a digital archive of your physical memorabilia. Organize your scanned documents in appropriately labeled folders for effortless retrieval.
6.4. Digital Scrapbooking Templates
Digital scrapbooking templates are a fantastic tool for streamlining your creative process. Organize your template files by category, such as single-page layouts, double-page layouts, or specific themes. Use descriptive file names or tags to make it easy to search and locate the templates you want to use.
6.5. Customized Digital Folders
Create a system of digital folders to organize your digital scrapbooking supplies. Include categories such as papers, elements, templates, fonts, or even by specific themes or collections. This will make it easy to find and access specific digital files for your scrapbooking projects.
6.6. Tagging and Metadata
Take advantage of tagging and metadata features in your digital scrapbooking software or file management system. Assign descriptive tags or keywords to your digital supplies, making it easier to search and browse your collection. Use metadata fields to indicate the source, designer, or color of each digital item.
6.7. Backup and File Management
Regularly back up your digital scrapbooking files to ensure their safety and prevent loss due to hardware failure or other issues. Create a backup schedule and stick to it, whether it’s using external hard drives, cloud storage, or both. Implement a file naming system and folder structure that makes sense to you to make file management efficient and organized.
6.8. Online Communities and Resources
Engage with online communities and resources dedicated to digital scrapbooking. These communities often provide organization tips, file sharing, and collaboration opportunities. Join forums, Facebook groups, or other online platforms to connect with fellow digital scrapbookers and gain new insights into digital organization strategies.
6.9. Digital Inspiration Boards
Create digital inspiration boards using platforms like Pinterest or Trello. Save screenshots, images, or links to scrapbooking layouts, techniques, or color palettes that inspire you. Organize these boards into different categories or themes to easily refer back to them for future projects.
6.10. Digital Scrapbooking Workflows
Develop a digital scrapbooking workflow that works for you. Define the steps you typically follow when creating digital layouts, from importing photos to exporting the final projects. Streamline your workflow by using presets, templates, or batch processing techniques to optimize your time and keep your digital files organized.
7. Streamlining Paper and Cardstock
Paper and cardstock are essential components of any scrapbooking project. Here are some strategies to help you streamline your paper and cardstock storage and usage:
7.1. Paper Trimmers and Cutters
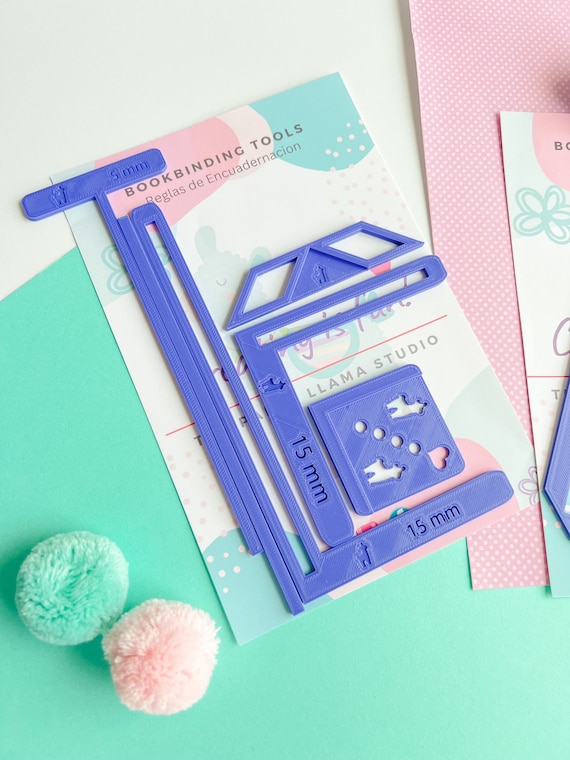
Invest in a high-quality paper trimmer or cutter to ensure clean and precise cuts on your paper and cardstock. This will help you create straight edges and custom sizes quickly and efficiently. Keep your paper trimmer clean and in good condition for optimal performance.
7.2. Cardstock Organizers
Organize your cardstock by color, weight, or size using cardstock organizers. Use dividers or labeled compartments to keep your cardstock neatly sorted. This will make it easy to find the perfect color or weight for your scrapbooking projects.
7.3. Magazine File Holders
Magazine file holders are a practical and stylish way to store your 12×12 scrapbooking papers. Use them to organize your patterned papers, cardstock, or scrapbooking kits by theme or collection. Label each file holder for easy identification and quick access.
7.4. Hanging File Folders
If you have limited shelf space, hanging file folders can be a space-saving option for storing your papers. Hang file folders on a file rack or inside a cabinet door to keep your papers upright and easily accessible. Assign specific folders to different types of paper, such as patterned papers, cardstock, or specialty papers.
7.5. Scrapbooking Paper Storage Racks
Invest in a scrapbooking paper storage rack to keep your papers organized and visible. These racks feature multiple shelves or slots to hold your papers in an upright position. Sort your papers by color, pattern, or theme for effortless access and quick inspiration.
7.6. Paper Storage Bins
If you prefer to store your papers out of sight, paper storage bins are a practical solution. Choose stackable bins with lids to keep your papers protected from dust and moisture. Label each bin with the contents or category of papers for easy identification.
7.7. Punch and Die-cut Organizers
If you have a collection of punches or die-cutting machines, it’s essential to keep them organized and accessible. Use organizers specifically designed for punches or die-cuts to store and display your collection. Arrange them by size or type to make it easy to find the perfect punch or die-cut for your projects.
7.8. Stash-busting Techniques
Scrapbooking is the perfect opportunity to use up your paper scraps and stash-bust. Sort your scraps by color or size and store them in appropriately labeled containers or folders. This way, you can easily incorporate these smaller pieces of paper into your layouts and minimize waste.
7.9. Digital Paper Storage Solutions
For digital scrapbookers, organizing your digital paper files is just as important as organizing physical papers. Create a folder structure on your computer or external hard drive that mimics your physical paper organization. Use descriptive file names or tags to make it easy to find specific digital papers when you need them.
7.10. Recycling and Repurposing Paper Scraps
Make eco-friendly choices by recycling or repurposing your paper scraps. Use a designated bin or bag to collect unwanted or unusable paper scraps for recycling. Get creative with repurposing paper scraps; they can be used as matting, borders, or even torn into strips for textured backgrounds.
8. Easy-access Embellishment Storage
Embellishments bring life and personality to your scrapbooking projects. Keep them organized and easily accessible using the following storage solutions:
8.1. Compartmentalized Bead Organizers
Bead organizers with multiple compartments are excellent for storing small embellishments such as brads, eyelets, or small buttons. Sort your embellishments by color or type and create custom labels for each compartment. This will allow you to quickly find and select the perfect embellishment for each project.
8.2. Drawer and Tray Dividers
Maximize your drawer space by using dividers or trays to separate and organize your embellishments. This will prevent them from becoming jumbled and difficult to find. Store similar items together by type or theme to keep your collection well-structured and easily accessible.
8.3. Wall-mounted Embellishment Storage
Take advantage of your wall space by installing wall-mounted storage solutions for your embellishments. Use small shelves or clear containers to display and store your embellishments in an organized and visually appealing way. This will free up valuable drawer or table space and add a decorative element to your scrapbooking area.
8.4. Plastic Zip Bags
Plastic zip bags are a convenient and inexpensive option for storing larger and bulkier embellishments. Group similar items together in individual bags and label them accordingly. Store these bags in a larger container or hanging organizer for easy access and better visibility.
8.5. Clear Plastic Tubes
Clear plastic tubes or containers are ideal for storing longer or delicate embellishments such as ribbons, twine, or fibers. Roll up the ribbons or threads and secure them inside the tubes to prevent tangling or damage. Arrange the tubes upright in a container or use a wall-mounted rack for easy access.
8.6. Magnetic Spice Containers
Magnetic spice containers can be repurposed to hold small metal or magnetic embellishments. Attach a magnetic strip to the inside of a cabinet or use a metal surface to store and display the containers. This method keeps your magnetic embellishments visible and easily accessible without taking up valuable drawer or shelf space.
8.7. Embellishment Display Stands
Invest in a display stand or rack specifically designed for showcasing your embellishments. These stands come in various sizes and configurations, with multiple compartments or hooks to hold different types of embellishments. Use them to create an eye-catching and organized display of your favorite embellishments.
8.8. Repurposed Ice Cube Trays
Ice cube trays are a creative and budget-friendly way to store small embellishments. Each compartment can be used to hold a different type of embellishment, keeping them separate and easily visible. Stack the trays in a drawer or on a shelf to save space and create an organized system.
8.9. Travel-size Pill Organizers
Travel-size pill organizers are perfect for storing small and delicate embellishments when you’re on the go. Use each compartment to hold a different type of embellishment, and label the lid or bottom of the organizer for easy identification. This will ensure that your embellishments stay organized and secure during travel.
8.10. Embellishment Subscription Boxes
Consider subscribing to embellishment subscription boxes for a steady supply of curated embellishments. These boxes often include various types of embellishments, allowing you to try new products and add to your collection. Keep the boxes organized by labeling or stacking them, making it easy to access and store the embellishments they contain.
11. Time-saving Organization Tricks
Efficiency is key when it comes to scrapbooking. Incorporate these time-saving organization tricks into your routine to streamline your process and maximize your productivity:
11.1. Prepping Kits in Advance
Save time by prepping scrapbook kits in advance. Gather and organize all the supplies you’ll need for a specific project into a single container or bag. This way, everything is ready for you when you’re ready to start working on your layout, and you can avoid interrupting your flow to search for specific materials.
11.2. Storing Frequently Used Supplies Together
Keep your most frequently used supplies together for quick and easy access. Whether it’s your go-to adhesive, favorite pens, or essential tools, store them in a designated container or organizer. This way, you don’t have to waste time searching for these items each time you start a new project.
11.3. Creating a Scrapbook Planner
Stay organized and on track by creating a scrapbook planner. Use a physical planner or a digital calendar to schedule dedicated crafting time, plan upcoming projects, and track deadlines or milestones. This will help you stay focused and ensure that you complete your scrapbooking projects on time.
11.4. Grouping Similar Supplies
Group similar supplies together to streamline your workflow. For example, store all your adhesive options in one container, all your cutting tools in another, and all your embellishments in a separate organizer. This will prevent unnecessary searching and make it easier to find the supplies you need for each step of your project.
11.5. Setting Up Routine Workflows
Establish routine workflows for common scrapbooking tasks such as journaling or adhering photos. Determine the most efficient order of steps for each task and create a checklist or outline to guide you. By following a consistent workflow, you’ll be able to complete those tasks quickly and efficiently, allowing you to focus on the creative aspects of your layouts.
11.6. Using Templates and Sketches
Save time and creative energy by using templates or sketches as a starting point for your layouts. Templates provide pre-designed layouts with placeholders for your photos and journaling. Sketches offer design ideas and layouts that you can adapt to suit your needs. Incorporate these resources into your toolbox and customize them to fit your personal style.
11.7. Digital Scrapbooking Shortcuts
Take advantage of the time-saving shortcuts available in digital scrapbooking software. Learn and master keyboard shortcuts, preset styles, or actions that can speed up repetitive tasks. Utilize features like the “copy and paste layer styles” or “apply template to multiple pages” to automate and simplify your digital scrapbooking process.
11.8. Developing Efficient Scrapbook Layout Systems
Create an efficient system for creating and organizing your scrapbook layouts. Determine the steps you typically follow, such as selecting photos, choosing papers, or arranging embellishments. Create folders or storage solutions specifically for each step to keep your layouts organized and prevent materials from getting mixed up.
11.9. Incorporating Batch Processing
When it comes to repetitive tasks such as printing photos or cutting paper, try to incorporate batch processing. Print multiple photos at once or cut several pieces of paper to the same size in one go. This will save you time and create a consistent look across your layouts.
11.10. Embracing Imperfections and Unplanned Creativity
Remember to embrace imperfections and allow for unplanned creativity in your scrapbooking process. While organization and efficiency are essential, don’t be afraid to experiment and veer off course occasionally. Some of the best and most unique layouts come from unexpected twists and turns in the creative process.
Incorporating these organization strategies and storage solutions into your scrapbooking routine will help you create a more efficient, clutter-free, and enjoyable crafting space. By streamlining your tools, workspaces, and supplies, you’ll have more time and energy to focus on the creative aspect of scrapbooking. So, get organized and let your creativity shine!

