Imagine having your scrapbooking tools neatly organized and easily accessible, without any clutter in your crafting space. In this article, we will share some tips and storage solutions for organizing your scrapbooking toolkit. With these ideas, you can create a neat and efficient crafting space that allows you to focus on your creativity and enjoy the process of preserving memories. Say goodbye to the frustration of searching for misplaced tools and hello to a more organized and enjoyable scrapbooking experience.
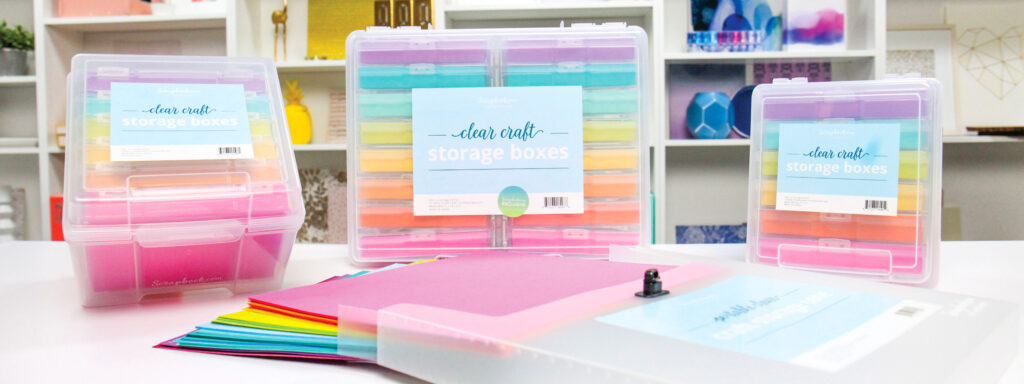
1. Choosing the Right Storage Solutions for Your Scrapbooking Toolkit
1.1. Consider Your Space Constraints
When it comes to organizing your scrapbooking toolkit, one of the first things to consider is the space you have available. If you have a dedicated crafting room or a large workspace, you may have more options for storage solutions. On the other hand, if you’re working with limited space, you’ll need to think creatively and maximize every inch. Take measurements of your space and consider any existing furniture or shelving that can be repurposed for your storage needs.
1.2. Assess Your Tool Collection
Before diving into storage options, it’s important to take stock of your scrapbooking tools. Gather all your supplies and lay them out in one place so you can see exactly what you have. Take note of the different types of tools and their sizes, as well as any specific storage requirements they may have. This will help you determine the most suitable storage solutions for your collection.
1.3. Research Different Storage Options
With a clear understanding of your space constraints and tool collection, it’s time to start researching different storage options. There are numerous storage solutions available, ranging from plastic bins and drawers to craft-specific organizers designed specifically for scrapbooking supplies. Consider factors such as durability, accessibility, and aesthetics when evaluating your options. Look for storage solutions that will accommodate your tools and fit seamlessly into your workspace.
1.4. Compare Pros and Cons of Various Storage Solutions
To make an informed decision, it’s important to compare the pros and cons of various storage solutions. Plastic bins and drawers offer affordability and versatility, allowing you to easily customize your storage system. Craft-specific organizers, on the other hand, may be more expensive but offer specialized compartments and features tailored to scrapbooking supplies. Consider factors such as price, accessibility, durability, and the ability to grow your collection when comparing storage solutions.
2. Sorting and Categorizing Your Scrapbooking Supplies
2.1. Gather All Your Scrapbooking Supplies
Before you embark on organizing your scrapbooking supplies, gather everything together to get a clear picture of what you have. This includes paper, stickers, embellishments, tools, adhesives, and any other items you regularly use in your scrapbooking projects. Lay them out on a large table or workspace so you can easily sort through them.
2.2. Sort Supplies by Category
To create an organized and efficient system, sort your supplies by category. Group similar items together, such as papers, stickers, embellishments, and specialty tools. This will make it easier to find what you need when you’re working on a specific project. You can use different bins, drawers, or even labeled trays to keep each category separate.
2.3. Create Subcategories for Ongoing Projects
If you have ongoing projects that require multiple supplies, consider creating subcategories within each main category. For example, if you’re working on a travel-themed scrapbook, you can create subcategories for different trips or destinations. This will help you keep everything organized and easily accessible, especially if you’re working on multiple projects simultaneously.
2.4. Purge Unnecessary or Unused Items
As you sort through your supplies, take the opportunity to purge any unnecessary or unused items. It can be easy to accumulate items over time, but if they’re not being used, they’re only taking up valuable space. Consider donating or giving away items that are still in good condition, and toss any items that are no longer usable. This will help declutter your space and make room for items that you actually use.
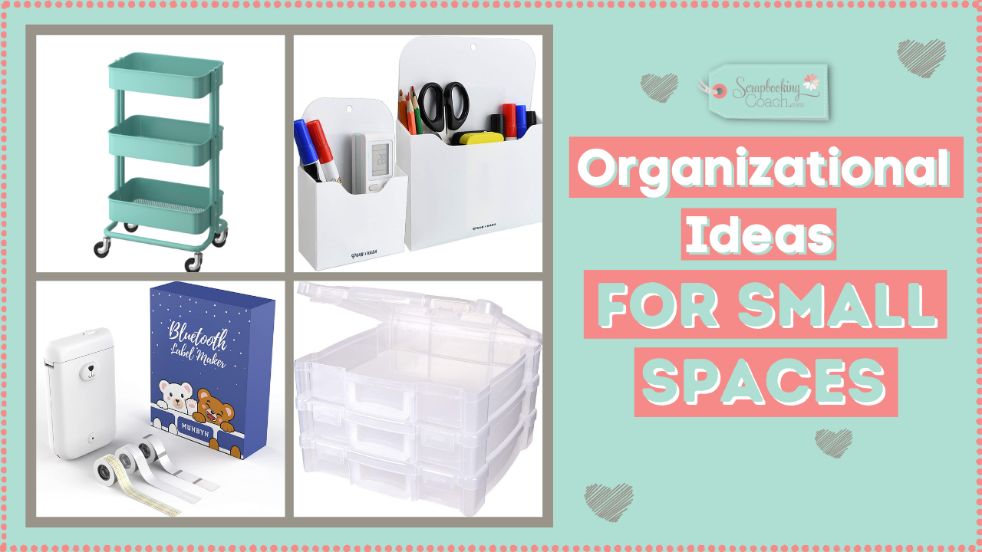
3. Utilizing Clear Containers for Easy Visibility
3.1. Invest in Transparent Storage Containers
When it comes to storing your scrapbooking supplies, investing in transparent storage containers can make a world of difference. Being able to see what’s inside each container at a glance will save you time and effort when searching for specific items. Transparent containers also make it easier to maintain an organized system, as you can quickly identify which container to return an item to after finishing a project.
3.2. Label Containers Clearly
In addition to using transparent containers, labeling them clearly is essential for easy retrieval. Use label maker or adhesive labels to categorize each container, specifying the type of supplies contained within. This will avoid any confusion and ensure that everything is returned to its proper place after use. Consider color-coding your labels to further enhance organization and visually distinguish different categories.
3.3. Organize Supplies by Size and Shape
To optimize the efficient use of space within your storage containers, organize your supplies by size and shape. Arrange smaller items such as stickers or brads in smaller compartments, while larger items like paper or punches can be stored in larger sections. By organizing your supplies in this way, you’ll be able to fit more items in each container, maximizing the available space.
3.4. Stack or Nest Containers for Space Optimization
When it comes to storing your transparent containers, consider stacking or nesting them to maximize your space. Stack containers of similar sizes to create neat columns or utilize nesting containers to maximize vertical space. This will help keep your workspace clutter-free while ensuring that all your supplies are easily accessible when needed.
4. Designating Specific Areas for Different Craft Tools
4.1. Create a Cutting and Trimming Station
One essential area in your scrapbooking workspace is a cutting and trimming station. Designate a specific area or surface for your cutting tools, such as paper trimmers, scissors, and cutting mats. Ensure that these tools are easily accessible and within reach so you can quickly grab them when needed.
4.2. Set Up an Embellishment and Sticker Station
Another important area to designate is an embellishment and sticker station. This could be a small tray or caddy where you keep your collection of stickers, embellishments, and other decorative items. Having them all in one place will save you time searching for specific items and keep everything organized.
4.3. Allocate a Space for Adhesives and Glues
Adhesives and glues are essential in scrapbooking, so it’s important to allocate a specific space for them. This can be a small drawer or a container with compartments designed specifically for storing adhesives. Keep them grouped together and easily accessible, as they are frequently used throughout the scrapbooking process.
4.4. Establish a Paper and Cardstock Storage Area
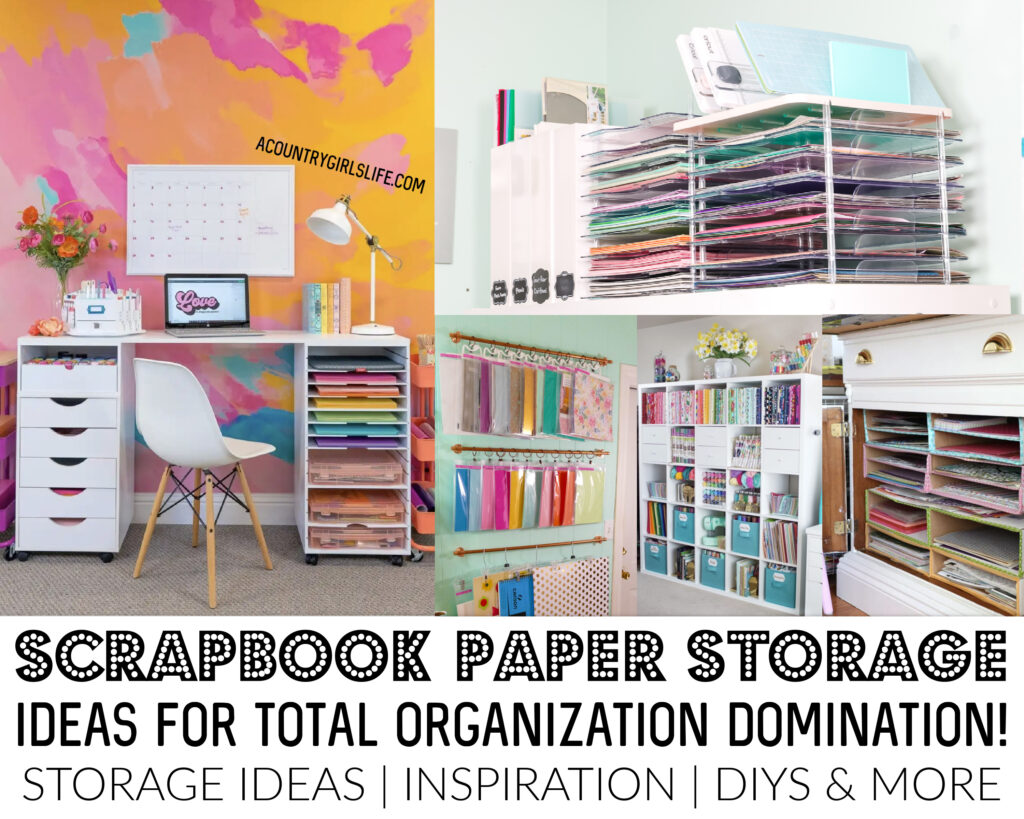
Paper and cardstock are often the foundation of any scrapbooking project, so it’s crucial to create a designated storage area for them. Invest in paper storage racks, shelves, or organizers that can hold various sizes and colors of paper. Keep them organized by category, such as solid colors, patterned papers, or speciality papers, for easy retrieval.
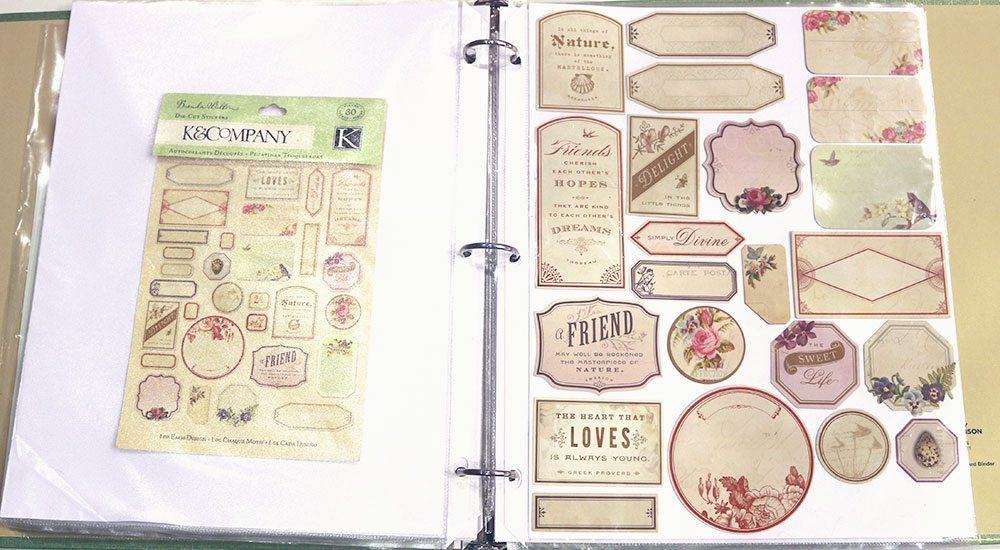
5. Creating a Portable Scrapbooking Toolkit
5.1. Gather Essential Tools in a Tote or Caddy
If you enjoy scrapbooking on the go or attending crafting events, creating a portable scrapbooking toolkit is essential. Gather your essential tools, such as small scissors, adhesive, and a selection of pens and markers, and store them in a tote or caddy. This way, you can easily transport your tools wherever you want to scrapbook without the need to pack and unpack your entire workspace.
5.2. Choose Compact and Travel-Friendly Supplies
In addition to your essential tools, choose compact and travel-friendly supplies for your portable scrapbooking toolkit. Opt for smaller paper and embellishment packs, as well as mini ink pads. Consider using portable and lightweight tools like mini paper trimmers and handheld punches. By choosing travel-friendly supplies, you’ll be able to enjoy scrapbooking on the go without sacrificing creativity.
5.3. Prioritize Versatile and Multi-Use Tools
When space is limited in your portable scrapbooking toolkit, it’s essential to prioritize versatile and multi-use tools. Look for tools that can serve multiple purposes, such as a scoring tool that can also be used for folding or a stamping tool that works for both clear and rubber stamps. This will help you maximize the functionality and versatility of your toolkit while minimizing its size and weight.
5.4. Consider a Portable Workspace Solution
In addition to your portable scrapbooking toolkit, consider investing in a portable workspace solution. This could be a portable folding table or a lap desk with storage compartments. Having a dedicated space to work on your projects, even while on the go, will enhance your crafting experience and make it easier to stay organized.
6. Implementing a System for Easy Retrieval
6.1. Create an Inventory or Catalog of Your Supplies
To ensure easy retrieval of your scrapbooking supplies, create an inventory or catalog of everything you have. This can be a digital spreadsheet or a physical binder with categorized lists of each supply. Note down important details such as the item’s location, quantity, and any relevant notes. Having an inventory will save you time and effort when searching for specific items, especially as your collection grows.
6.2. Develop a Systematic Storage Layout
Alongside your inventory, develop a systematic storage layout that makes sense for how you work. Store frequently used supplies in easily accessible locations, and consider grouping items you frequently use together. This could involve organizing your storage containers, shelves, or drawers in a way that is logical and intuitive for you. Regularly review and adjust your storage layout as your needs and collection evolve.
6.3. Keep Frequently Used Tools within Reach
When organizing your scrapbooking workspace, it’s important to keep frequently used tools within reach. Consider having a small caddy or tray on your workspace that holds your most-used tools, such as scissors, adhesive, and your favorite pens. This will save you time searching for these tools and prevent clutter on your workspace.
6.4. Maintain a Regular Cleaning and Organization Routine
To ensure your scrapbooking toolkit stays neat and organized, it’s important to establish a regular cleaning and organization routine. Set aside time each month to review your supplies, declutter any unused items, and reorganize your storage containers if necessary. Wipe down surfaces and clean your tools to keep them in good condition. By making organization a consistent practice, you’ll maintain a clutter-free and efficient workspace.
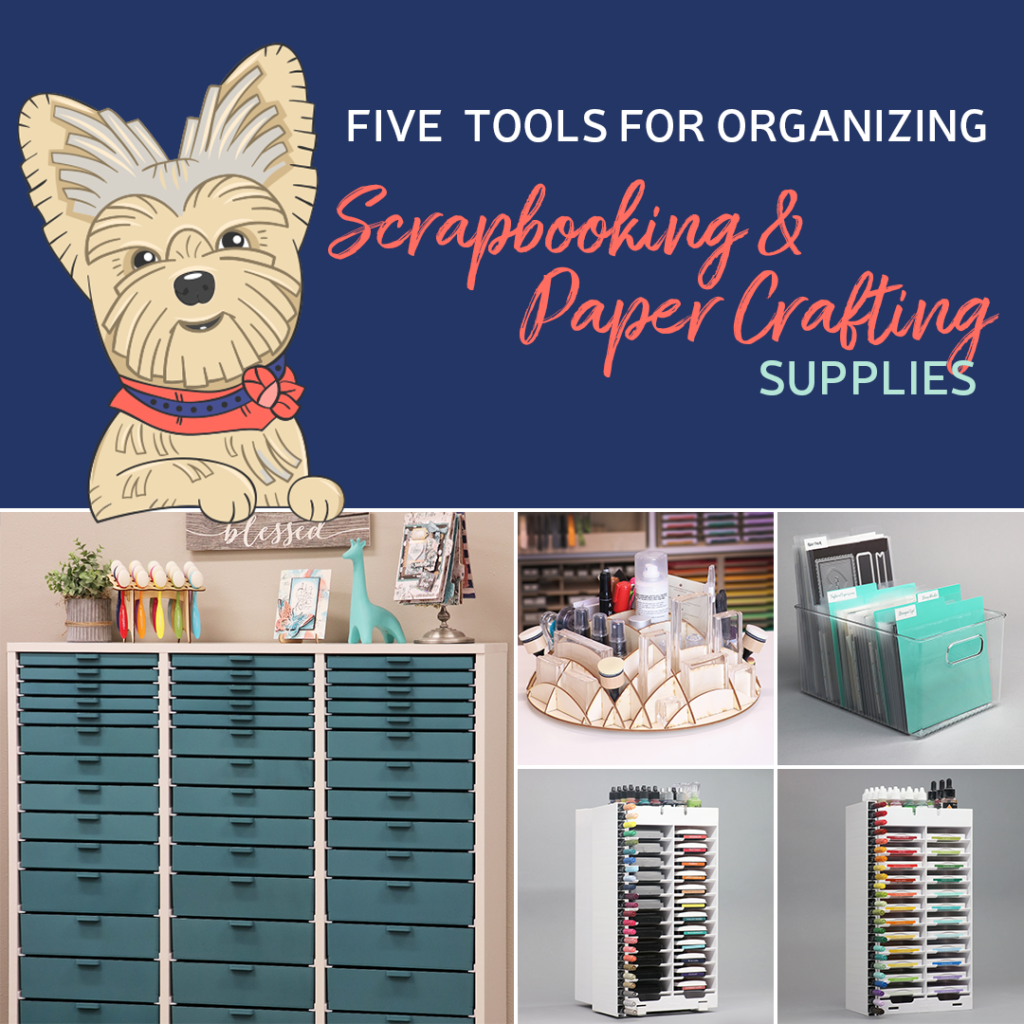
7. Incorporating Wall Storage Solutions
7.1. Install Hanging Pegboards or Grids
If you’re looking to maximize your storage space, consider incorporating wall storage solutions such as hanging pegboards or grids. These can be mounted on the wall and provide a versatile and customizable storage solution. Use hooks or clips to hang tools and small containers, keeping them easily accessible and visible.
7.2. Use Magnetic Strips for Metal Tools
Another wall storage solution for metal tools is magnetic strips. These strips can be easily attached to your walls or the inside of cabinet doors, allowing you to hang metal scissors, punches, rulers, and other magnetic tools. This not only keeps them organized but also prevents them from getting lost or misplaced.
7.3. Hang Shelves or Racks for Bulkier Items
For bulkier items such as albums or die-cutting machines, hanging shelves or racks can provide the perfect storage solution. Install shelves on your walls to store albums or large paper packs. Consider using racks to store larger tools or machines, ensuring they are securely mounted for safety and easy accessibility.
7.4. Explore Wall-Mounted Pocket Organizers
Wall-mounted pocket organizers are an excellent option for storing small embellishments, stickers, or other loose items. These organizers typically have clear pockets, allowing you to easily see and access your supplies. Hang them on your walls or the back of doors for a space-saving storage solution that keeps everything within reach.
8. Utilizing Digital and Online Organization Tools
8.1. Digitize Paper Scraps and Designs
One way to reduce physical clutter in your scrapbooking toolkit is to digitize your paper scraps and designs. Use a scanner or a smartphone app to capture images of your favorite papers or designs that you want to use in future projects. Store these digital files on your computer or in a cloud storage system for easy access. This eliminates the need to keep physical paper scraps and allows you to save space.
8.2. Use Inventory Management Apps or Software
Take advantage of inventory management apps or software specifically designed for crafters. These tools allow you to catalog and track your supplies, create shopping lists, and even set reminders for upcoming projects or deadlines. By utilizing these apps or software, you can streamline your organization process and ensure that you never run out of essential supplies.
8.3. Take Advantage of Online Scrapbooking Communities
Joining online scrapbooking communities not only provides a platform to share your creations but also offers a wealth of inspiration and organization tips. Engage with fellow crafters, ask for advice, and share your organizing techniques. By being an active member of online scrapbooking communities, you’ll have access to a vast array of ideas and strategies to further improve your organization skills.
8.4. Explore Digital Scrapbooking Platforms
For those who prefer a more minimalist and space-saving approach, exploring digital scrapbooking platforms can be a great option. Digital scrapbooking allows you to create beautiful layouts on your computer using pre-designed elements and templates. This eliminates the need for physical supplies and opens up a whole new world of creative possibilities. Digital scrapbooking also provides the advantage of easy organization and storage, as everything is neatly organized within the software.
9. Preventing Clutter by Practicing Mindful Shopping
9.1. Assess Your Actual Needs Before Purchasing
One of the key strategies to prevent clutter in your scrapbooking toolkit is to assess your actual needs before making a purchase. Instead of buying every trendy embellishment or paper pack, evaluate how it fits into your existing collection. Will you actually use it in your projects or is it simply an impulse buy? By practicing mindful shopping, you’ll not only avoid unnecessary clutter but also save money in the long run.
9.2. Set a Budget for Scrapbooking Supplies
To control your spending on scrapbooking supplies, it’s important to set a budget. Determine how much you’re willing to spend on a monthly or quarterly basis and stick to it. This will help you prioritize your purchases and avoid overspending. By setting a budget, you’ll be more mindful of each purchase and ensure that you’re only buying items that genuinely enhance your scrapbooking experience.
9.3. Avoid Impulse Buying
Impulse buying can easily lead to unnecessary clutter in your scrapbooking toolkit. When you come across a new product or supply that catches your eye, take a step back and evaluate whether you truly need it. Consider how it fits into your existing collection and if it aligns with your creative style. By avoiding impulse buying, you’ll make more intentional choices and maintain a clutter-free workspace.
9.4. Consider Borrowing or Trading Tools and Supplies
When you’re in need of a specific tool or supply for a project, consider borrowing or trading with fellow crafters. This not only allows you to try out new tools without committing to a purchase but also fosters a sense of community within the scrapbooking world. By borrowing or trading tools and supplies, you’ll minimize unnecessary spending and prevent clutter in your toolkit.
10. Seeking Inspiration and Advice from Others
10.1. Join Scrapbooking Groups or Clubs
To stay motivated and inspired in your scrapbooking journey, join scrapbooking groups or clubs. These communities bring together like-minded individuals who share a passion for scrapbooking. Engage in discussions, ask for advice, and participate in group projects. By being part of a scrapbooking group or club, you’ll gain valuable insights and tips to help improve your organization and techniques.
10.2. Attend Workshops or Classes
Attending workshops or classes is another great way to seek inspiration and advice from experts in the field. Look for local crafting stores or community centers that offer scrapbooking classes or events. Not only will you learn new techniques and creative approaches, but you’ll also have the opportunity to connect with fellow crafters and expand your network.
10.3. Follow Scrapbooking Influencers or Experts
In the digital age, following scrapbooking influencers or experts on social media platforms is a fantastic way to stay updated with the latest trends and ideas. Seek out scrapbooking bloggers, YouTube channels, and Instagram accounts that align with your creative style. By following these influencers or experts, you’ll have access to a constant stream of inspiration and organization tips.
10.4. Participate in Scrapbooking Challenges
Participating in scrapbooking challenges adds an element of fun and creativity to your organization journey. Look for online scrapbooking challenges or create your own with friends or fellow crafters. These challenges often come with specific prompts or themes that can spark new ideas and push your creative boundaries. By participating in scrapbooking challenges, you’ll keep your motivation high and foster a sense of accomplishment in your organization efforts.
In conclusion, organizing your scrapbooking toolkit is essential for maintaining a neat and efficient crafting space. By considering your space constraints, assessing your tool collection, and researching storage options, you can choose the right storage solutions for your needs. Sorting and categorizing your supplies, utilizing clear containers, and designating specific areas for different craft tools will further enhance your organization system. Creating a portable toolkit, implementing a system for easy retrieval, and incorporating wall storage solutions offer additional efficiency and accessibility. Utilizing digital and online organization tools, practicing mindful shopping, and seeking inspiration and advice from others will complete your organizational journey. With these tips and strategies, you’ll be able to keep your scrapbooking toolkit tidy, easily accessible, and ready for all your creative endeavors.


