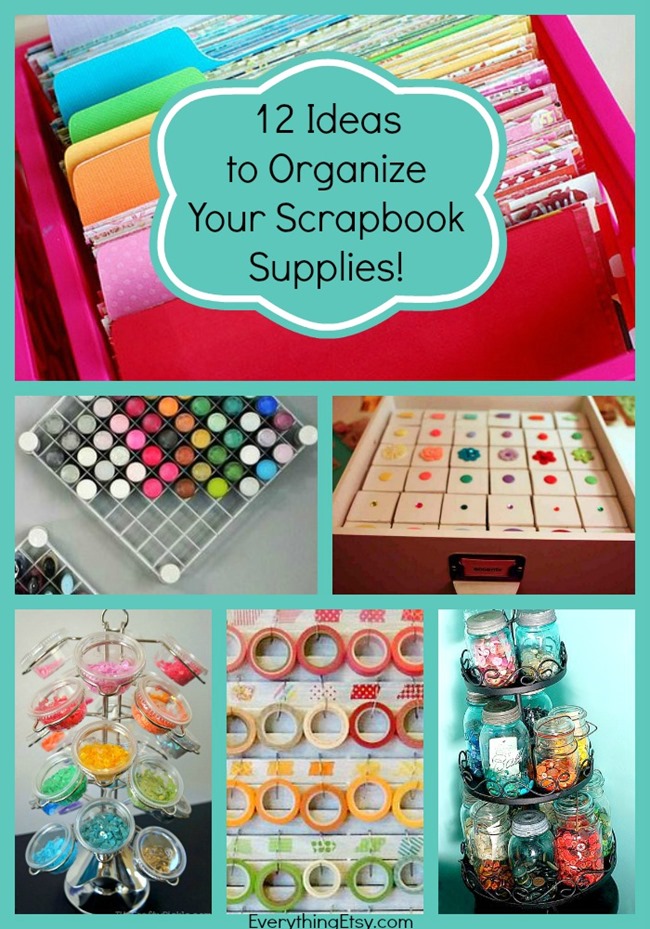
Are you tired of spending precious time searching for your scrapbooking tools amidst a cluttered crafting space? Well, fret no more! In this article, you will find invaluable tips and tricks on how to organize your scrapbooking toolkit and create a neat and efficient crafting space. By implementing these organization ideas and storage solutions, you will not only save time but also unleash your creativity to the fullest. Get ready to embark on a journey of organized bliss and unleash your inner artist!
1. Decluttering Your Scrapbooking Toolkit
1.1 Assess Your Supplies
To start organizing your scrapbooking toolkit, it’s important to assess your supplies. Take a look at everything you have and determine what items you actually use and what can be discarded. Eliminate any duplicates, expired products, or items that no longer serve a purpose in your crafting. This will help create more space and make it easier to find the tools and materials you need when working on your projects.
1.2 Sort and Purge Unnecessary Items
Once you have assessed your supplies, it’s time to sort and purge. Sort your items into categories such as paper, embellishments, tools, and adhesives. This will make it easier to see what you have and identify any duplicates or items that can be donated or given away. Be honest with yourself about whether or not you will realistically use certain items in the future. Letting go of unnecessary items will make your scrapbooking toolkit more streamlined and efficient.
1.3 Establish Zones and Storage Areas
After decluttering, it’s important to establish zones and storage areas for your scrapbooking supplies. Create designated areas for different categories and make sure everything has a designated spot. This will not only make it easier to find what you need but also help maintain an organized space. Consider utilizing shelves, drawers, and containers to store your supplies in an orderly manner.
2. Choosing the Right Storage Solutions
2.1 Determine Your Storage Needs
Before selecting storage solutions, it’s crucial to determine your specific storage needs. Consider the size and quantity of your supplies, as well as the available space in your crafting area. Take into account the different types of supplies you have, such as paper, tools, and embellishments, and how you want to access and organize them. Understanding your storage needs will guide you in choosing the appropriate solutions.
2.2 Explore Different Storage Options
There are numerous storage options to consider when organizing your scrapbooking toolkit. Some popular choices include drawers, bins, baskets, and shelves. Drawers are great for storing tools and small items, while bins and baskets can be used to group similar supplies together. Shelves provide both storage and display opportunities, allowing you to showcase your favorite materials and tools. Explore different options and select what works best for your space and organizational preferences.
2.3 Consider Accessibility and Portability
When choosing storage solutions, it’s essential to consider accessibility and portability. Opt for storage solutions that allow easy access to your supplies, minimizing the time you spend searching for specific items. Additionally, consider the portability of your storage system. If you attend scrapbooking events or enjoy crafting in different locations, having portable storage options will make it easier to bring your supplies with you.
3. Categorizing and Labeling Your Supplies
3.1 Create Categories for Easy Organization
Creating categories for your scrapbooking supplies is key to efficient organization. Sort your items into logical categories such as paper, stickers, ribbons, and stamps. By grouping similar items together, you’ll always know where to find what you need. This also makes it easier to determine if you have enough supplies in each category or if replenishment is necessary.
3.2 Label Containers and Sections
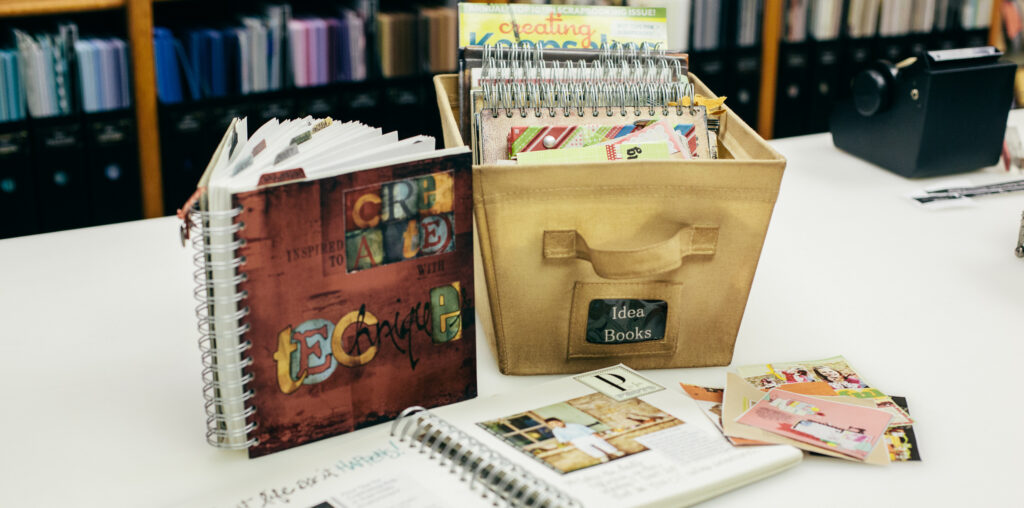
Labels are essential for maintaining an organized scrapbooking toolkit. Use clear and legible labels to identify the contents of containers and sections within your storage area. This will save you time and prevent frustration by allowing you to quickly locate specific items. Consider using a label maker or printable labels for a clean and uniform look.
3.3 Utilize Clear Storage Containers
When it comes to storing your supplies, consider utilizing clear storage containers. Clear containers allow you to immediately see what’s inside, eliminating the need to open multiple containers to find what you’re looking for. They also help protect your supplies from dust and damage. Invest in quality storage containers that are stackable and sturdy, ensuring long-term durability for your scrapbooking toolkit.
4. Establishing a Scrapbooking Workspace
4.1 Designate a Dedicated Workspace
Creating a dedicated workspace for your scrapbooking endeavors is essential for optimal organization and creativity. Choose an area in your home where you can set up a table or desk solely for your crafting activities. This will provide a designated space for your tools and materials, allowing you to work efficiently and easily access everything you need. Having a dedicated workspace also helps keep your scrapbooking supplies separate from other areas of your home.
4.2 Arrange Tools and Materials Ergonomically
When setting up your scrapbooking workspace, arrange your tools and materials in an ergonomic manner. Consider the frequency of use for each item and position them accordingly. Frequently used tools should be within easy reach, while those used less often can be stored further away. This will minimize the time and effort spent searching for specific items, allowing you to focus more on your creative process.
4.3 Incorporate Creative Inspirations
Your scrapbooking workspace should inspire and spark creativity. Consider incorporating personal touches and elements that reflect your personal style or the themes you enjoy working with. Hang up posters, photos, or artwork that inspire you. Display completed scrapbooking projects that you are proud of. By creating an inspiring space, you’ll feel motivated and excited to work on your scrapbooking projects.
5. Utilizing Vertical Space Efficiently
5.1 Install Wall Shelves or Racks
Efficiently utilizing vertical space is key when organizing your scrapbooking toolkit. Install wall shelves or racks to maximize storage capacity. These can be used to store items such as paper, albums, or even decorative embellishments. By taking advantage of vertical space, you’ll free up valuable tabletop or counter space, making it easier to work on your scrapbooking projects.
5.2 Use Pegboards or Grid Systems
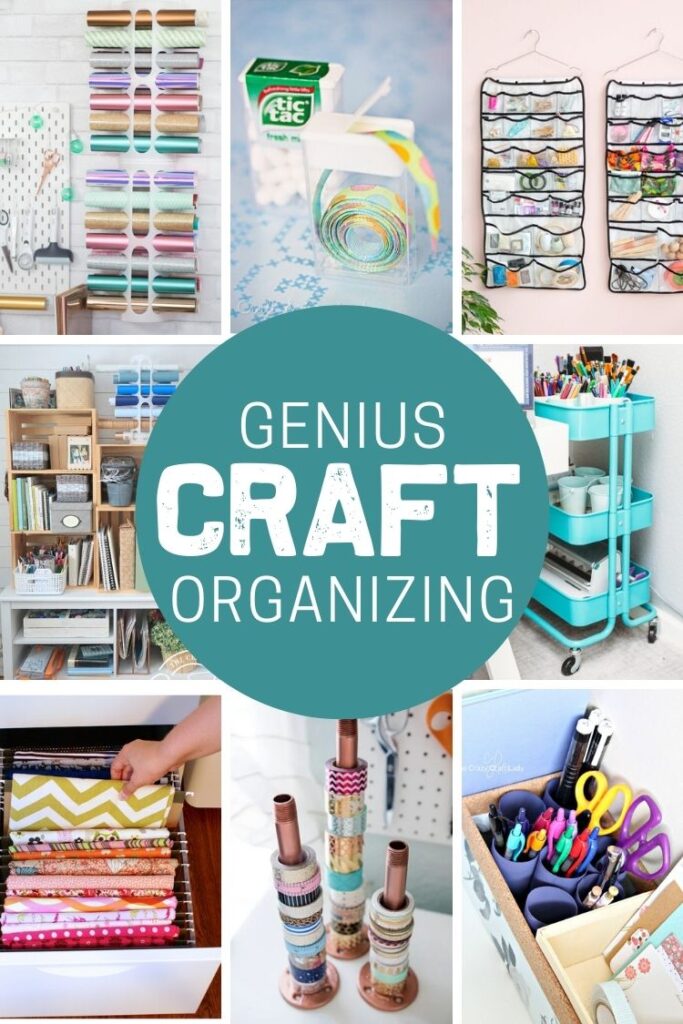
Pegboards or grid systems are versatile and practical options for organizing and storing your scrapbooking tools. Hang them on the wall, and use hooks, pegs, or baskets to store your scissors, punches, and other tools. This allows you to easily see and access your tools, keeping them within arm’s reach while minimizing clutter on your workspace.
5.3 Hang Tools and Supplies for Easy Access
Hanging tools and supplies on hooks or rails is an efficient way to keep them organized and easily accessible. Create a designated area for hanging items such as rulers, cutting mats, or rolls of washi tape. This not only declutters your workspace but also makes it quick and convenient to grab the tools and supplies you need for each project.
6. Individual Tool and Material Organization
6.1 Sorting and Storing Paper and Cardstock
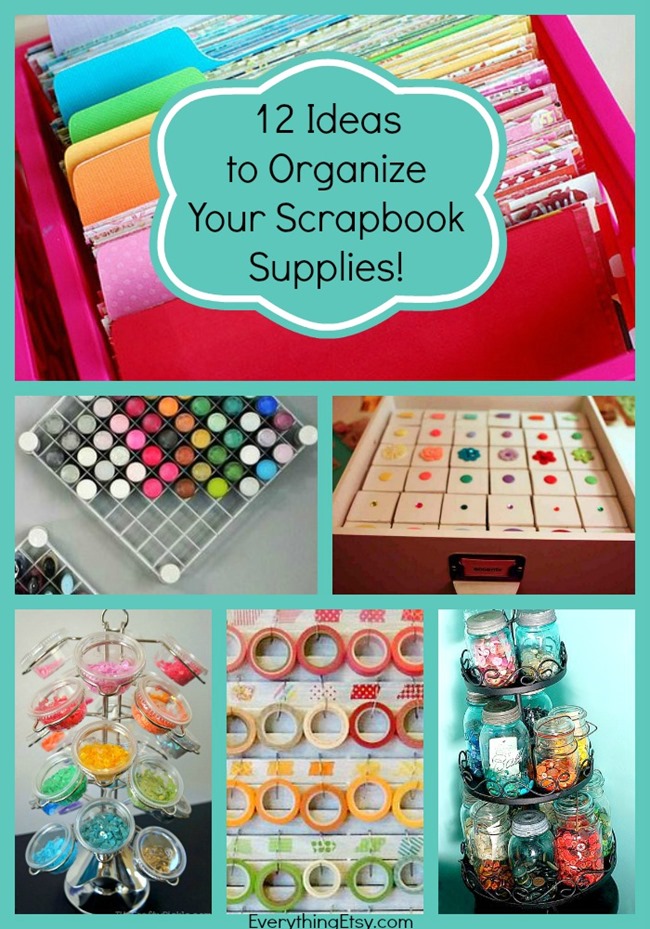
Paper and cardstock are essential components of scrapbooking, and proper organization is crucial. Sort your paper and cardstock by type, color, or theme. Use storage solutions such as vertical paper racks or magazine holders to keep them neat and easily accessible. Consider utilizing dividers or labeled folders within the storage solution for further categorization.
6.2 Organizing Stamps and Ink Pads
Stamps and ink pads are commonly used in scrapbooking and should be organized in a way that makes them easily accessible. One option is to store them in clear containers or trays with dividers, categorizing them by theme or style. Alternatively, consider using a rotating stamp carousel, allowing you to browse and select stamps without the need to shuffle through a pile.
6.3 Managing Ribbons, Trims, and Washi Tapes
Ribbons, trims, and washi tapes are often used for adding decorative touches to scrapbooking projects. Keep these items organized by wrapping them around cards or spools and securing them with clips or rubber bands. Consider utilizing hanging rods or dowels to display your collection, making it easy to see and select the perfect ribbon or trim for your project.
7. Keeping Embellishments and Stickers Organized
7.1 Separate by Type or Theme
Embellishments and stickers come in a variety of shapes, sizes, and themes, making it important to keep them organized for easy access. Separate your embellishments and stickers by type or theme, using either small containers or drawer dividers. This will allow you to quickly locate specific items and prevent them from becoming tangled or damaged.
7.2 Utilize Drawer Dividers or Small Containers
Drawer dividers or small containers are excellent tools for keeping your embellishments and stickers organized. Use them to create sections within your drawers, allowing you to separate different types or styles of embellishments. This ensures that everything stays in its place and makes it effortless to find the perfect finishing touch for your scrapbooking projects.
7.3 Store in Transparent Pockets or Envelopes
Transparent pockets or envelopes are great options for storing loose embellishments or stickers. They allow you to easily see what’s inside, eliminating the need to open each container to find a specific item. Utilize binders or plastic storage pouches with multiple pockets to store and organize your collection of embellishments, ensuring they are readily accessible whenever inspiration strikes.
8. Maximizing Scrapbooking Tools’ Lifespan
8.1 Properly Store Adhesives and Glues
Adhesives and glues are essential for scrapbooking, and proper storage is crucial to maintain their effectiveness. Store them upright in a cool and dry location to prevent them from drying out. Consider utilizing a designated drawer or container to keep them organized and protected from temperature and humidity changes. Always tightly close the caps or lids to avoid any leakage or drying.
8.2 Maintain Cutting Tools and Blades
To ensure the longevity of your cutting tools and blades, proper maintenance is essential. Clean your blades regularly by removing any adhesive residue or paper fibers that may accumulate. Keep your blades sharp by using blade sharpeners or replacing them when necessary. Store them in protective cases or covers to prevent accidents and keep them safely stowed away when not in use.
8.3 Organize and Store Electronic Cutting Machines
If you own an electronic cutting machine, it’s important to organize and store it properly. Keep all accessories, cords, and cartridges together in one location. Consider using storage cases or bags specifically designed for the machine to provide protection and easy transportation. Regularly clean the machine and remove any dust or debris to ensure optimal performance and prolong its lifespan.
9. Maintaining an Inventory and Shopping List
9.1 Track Your Current Supplies
Maintaining an inventory of your current scrapbooking supplies is a useful way to stay organized and avoid purchasing duplicates. Create a list that includes the items you have, along with their quantities or sizes. This inventory will serve as a reference when planning projects and help you quickly identify any supplies that need replenishing.
9.2 Update and Replenish Your List
Regularly update your inventory list and replenish any necessary supplies. As you use up items or purchase new ones, make note of it on your list. Keeping an updated inventory will prevent you from accidentally purchasing items you already have and ensure that you always have the necessary supplies on hand.
9.3 Stay Organized While Shopping
When shopping for new scrapbooking supplies, it’s important to stay organized to avoid unnecessary purchases. Carry your inventory list with you and refer to it when browsing at a store or online. Focus on acquiring items that you truly need or have been waiting to purchase. By staying organized while shopping, you’ll save money and prevent your scrapbooking toolkit from becoming cluttered with unnecessary items.
10. Regular Maintenance and Cleaning
10.1 Set Up a Cleaning Schedule
Regular maintenance and cleaning of your scrapbooking toolkit are essential for its longevity and efficiency. Set up a cleaning schedule to ensure that you dedicate time to tidying and maintaining your space. Consider scheduling a weekly or monthly cleaning session to dust surfaces, wipe down tools, and organize any items that may have become disheveled.
10.2 Wipe Down and Dust Tools and Surfaces
During your regular maintenance sessions, take the time to wipe down your tools and surfaces. Use a soft cloth or a mild cleaning solution to remove any dust or residue that may have accumulated. Pay attention to areas where adhesives or inks may have spilled, as these can hinder the performance of your tools if not cleaned properly.
10.3 Tidy Up After Each Crafting Session
Lastly, make it a habit to tidy up after each crafting session. Put away any tools or supplies that were used, discard any scraps or scraps of paper, and organize your workspace. This will help maintain an organized and clutter-free scrapbooking area, making it easier to start your next project and ensuring that your tools and supplies stay in excellent condition.
Incorporating these tips for organizing your scrapbooking toolkit will help you create a neat and efficient crafting space. By decluttering, choosing the right storage solutions, categorizing and labeling supplies, establishing a dedicated workspace, utilizing vertical space, and properly maintaining your tools and materials, you’ll be well on your way to a streamlined and enjoyable scrapbooking experience. So, roll up your sleeves, get organized, and let your creativity soar!

