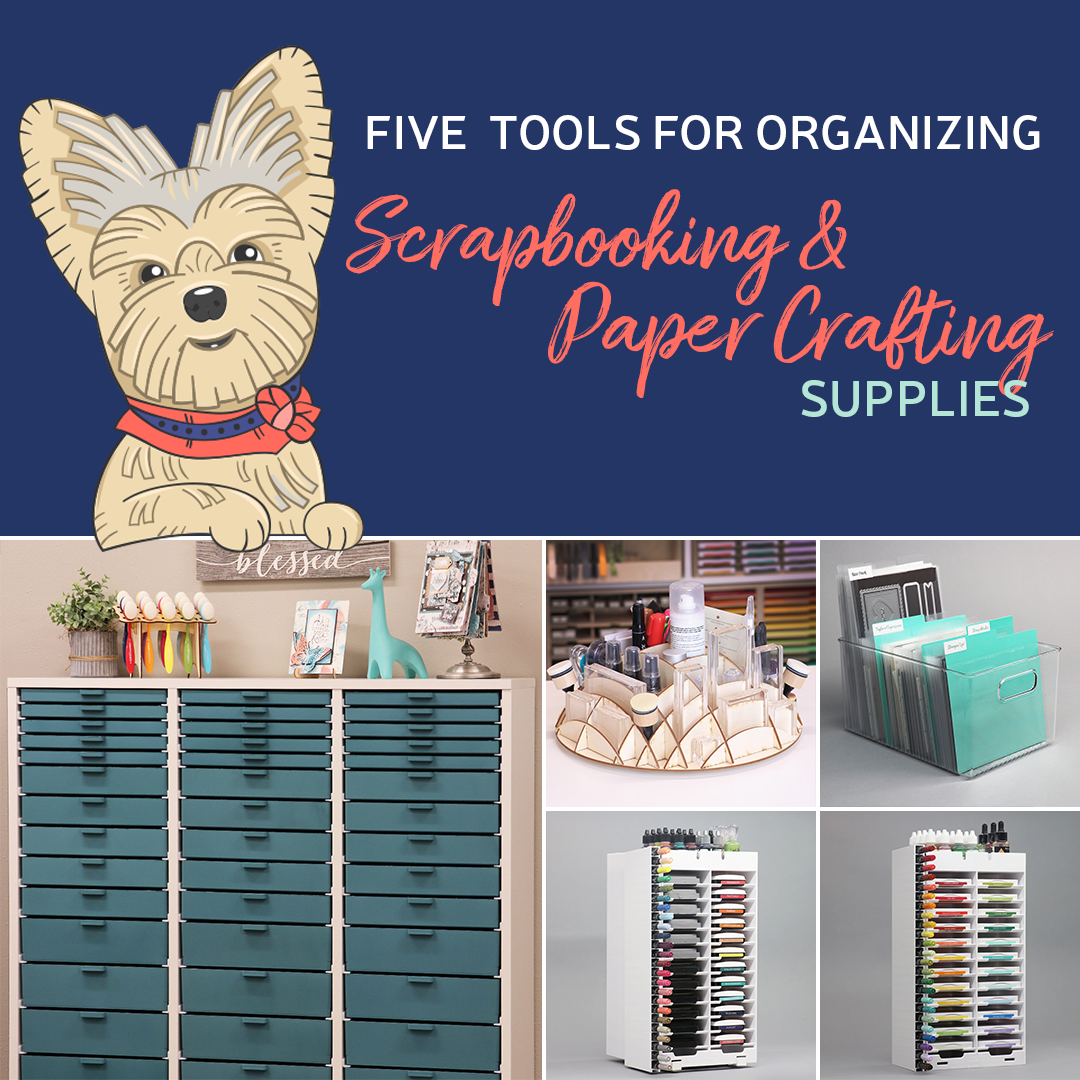
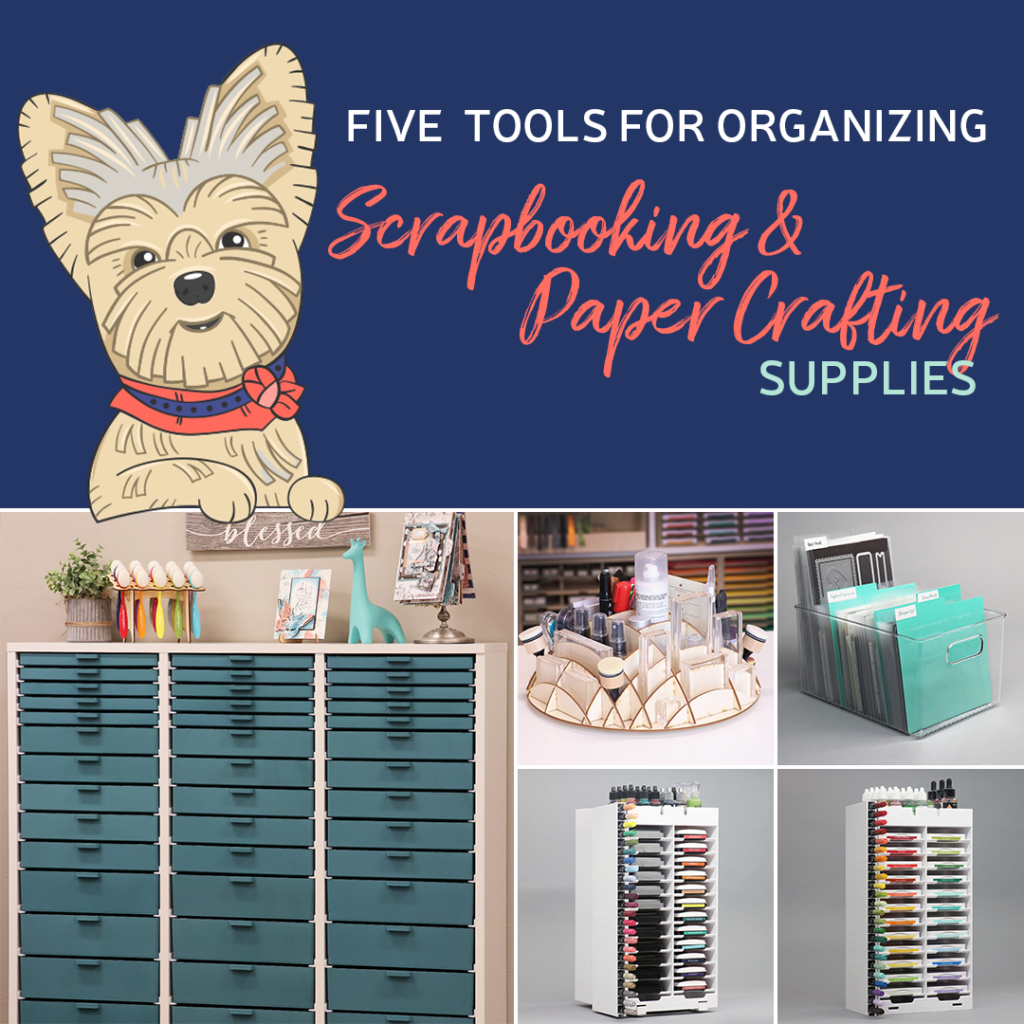
Are you tired of rummaging through piles of craft supplies to find the perfect embellishment for your scrapbooking projects? Look no further! In this article, we will explore some simple and effective tips on how to organize your crafting tools, specifically focusing on the world of scrapbooking. With the right organization techniques and storage solutions, you can create a neat and efficient crafting space that allows you to easily locate and access all your scrapbooking essentials. Say goodbye to the frustration of digging through cluttered drawers and hello to a stress-free and creative scrapbooking experience!
Organizing Your Scrapbooking Toolkit: Tips for a Neat and Efficient Crafting Space
Scrapbooking is a popular and creative hobby that allows you to preserve memories and express your artistic flair. However, with numerous tools and materials required for this craft, it can be challenging to keep everything organized and easily accessible. To help you maintain a neat and efficient crafting space, we have compiled a list of tips and tricks for organizing your scrapbooking toolkit. From sorting and labeling to utilizing vertical space and creating a portable toolkit, these strategies will ensure that your crafting supplies are always at your fingertips.
1. Grouping your tools by type
When it comes to organizing your scrapbooking toolkit, sorting your tools into categories is the first step towards creating an efficient system. Start by gathering all your tools and materials and categorize them based on their function or type. For example, group your cutting tools together, such as scissors, paper trimmers, and craft knives. Separate your adhesives, such as glue sticks, tape runners, and adhesive dots. By creating clear categories, you will make it easier to locate the tools you need when you need them.
Once you have sorted your tools, it’s time to create separate storage containers for each category. Opt for containers that are sturdy and spacious enough to accommodate your tools. Plastic bins, tackle boxes, or drawer organizers with multiple compartments are excellent options. As you place your tools in the containers, make sure to arrange them neatly and avoid overcrowding. This will not only make it easier to find specific tools but also prevent them from getting damaged or lost.
To further enhance the organization of your scrapbooking tools, label each container for easy identification. You can use adhesive labels or label maker to clearly indicate the contents of each container. Additionally, consider color-coding the labels based on different tool categories. This will provide an added visual cue and make it even quicker to find the tools you need during your crafting sessions.
2. Utilizing wall storage
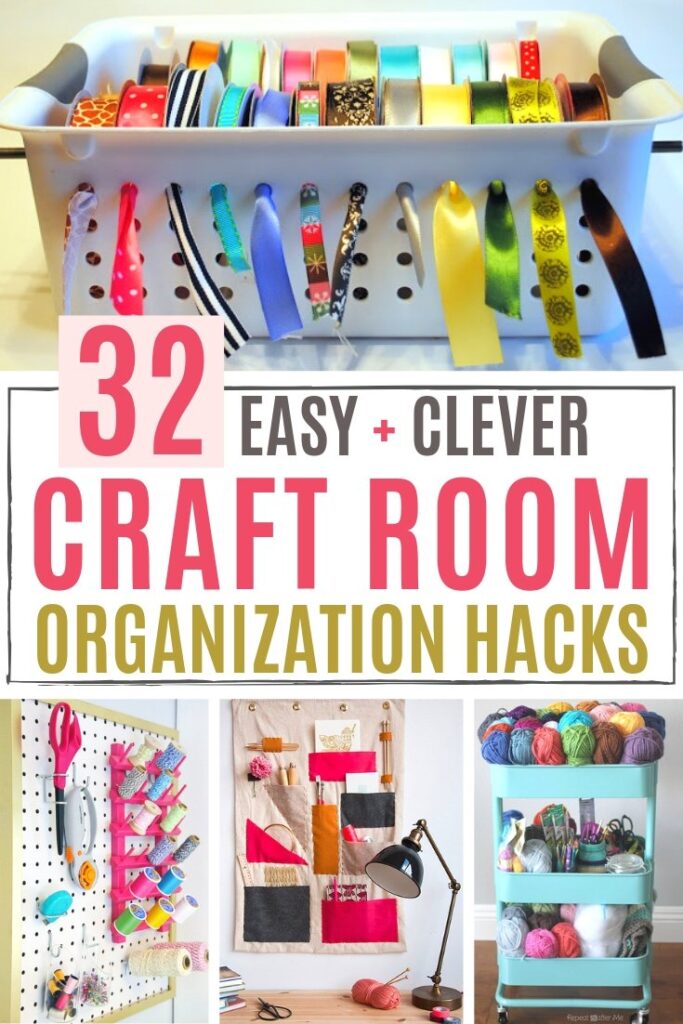
To optimize your crafting space and keep your tools within reach, make use of wall storage solutions. Installing pegboards on your walls will provide a versatile and customizable storage system for your scrapbooking tools. You can hang your tools using hooks or clips, allowing you to easily see and access them whenever needed. Arrange your tools based on their size and frequency of use to create an efficient and visually appealing display.
In addition to pegboards, consider installing a magnetic strip on your wall to store metal tools such as ruler, tweezers, and cutting blades. This will help keep these tools organized and prevent them from getting lost among the other scrapbooking supplies. By utilizing wall storage, you not only maximize your available space but also create a visually pleasing and functional display of your tools.
3. Using clear containers
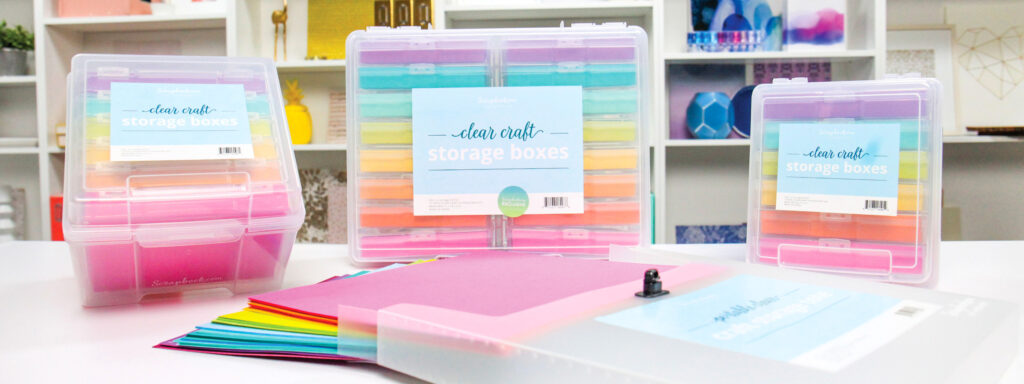
Transparent storage containers are an excellent choice for organizing your scrapbooking supplies. The ability to see the contents of each container at a glance saves you valuable time when searching for specific tools or materials. Opt for clear plastic bins or boxes to store larger tools such as punches, embossing machines, or die-cutting systems. This way, you can quickly locate the tools you need without having to open multiple boxes.
When it comes to organizing smaller embellishments like buttons, gems, or brads, consider using small individual containers with clear lids. This ensures that each item remains visible and easily accessible, eliminating the need to rummage through multiple containers when searching for a particular embellishment. Not only does this keep your workspace clutter-free, but it also enhances your creative process by streamlining your workflow.
4. Designating specific areas
Creating a designated crafting space within your home is essential for maintaining an organized scrapbooking toolkit. It allows you to have a dedicated area where you can work on your projects without interruptions. When setting up your crafting space, consider the different activities involved in scrapbooking, such as cutting, gluing, and designing. Separate these areas within your space to establish clear zones for each task.
For example, designate a well-lit area for cutting, equipped with a sturdy cutting mat, ruler, and paper trimmer. Keep your adhesives and glue guns nearby, ensuring easy access during the gluing phase. Designate a separate space for designing and assembling your scrapbook layouts, complete with a comfortable chair, a workstation, and storage solution for your papers and embellishments. By creating specific areas for different tasks, you can streamline your workflow and work more efficiently.
To ensure easy access to frequently used tools, keep them within arm’s reach in each designated area. This could include items like scissors, pens, erasers, or rulers. By having these tools readily available, you can avoid wasting time searching for them and maintain a steady flow of creativity throughout your crafting sessions.
5. Implementing drawer dividers
If you prefer to store your scrapbooking tools in drawers, using dividers is an excellent way to keep everything neat and organized. Drawer dividers allow you to separate your tools based on their function or size, making it easier to find what you need quickly. For example, you can dedicate one section for cutting tools, another for adhesives, and a separate section for pens and markers.
When organizing your tools within the dividers, take the time to arrange them neatly and avoid overcrowding. This will not only prevent your tools from getting damaged or lost but also make it easier to retrieve specific items without disturbing the entire contents of the drawer. To further enhance the organization, consider labeling each section with the corresponding tool category. This will simplify the process of locating specific tools and maintaining the overall organization of your drawer system.
6. Establishing a labeling system
Labeling is a crucial element in ensuring the long-term organization of your scrapbooking toolkit. To avoid any confusion or time wasted searching, label each container with the contents inside. This is especially important if you have multiple containers for the same tool category. By clearly labeling each container, you eliminate any guesswork and enable easy identification of tools and materials.
Consider using a labeling system that best suits your preferences and needs. You can use adhesive labels, label maker, or simply write directly on the containers with a permanent marker. Additionally, color-coding your labels based on different tool categories can provide an added layer of organization. For example, you can assign a specific color for cutting tools and another for adhesives. This visual cue will save you time and effort, especially when searching for tools during intense crafting sessions.
To maintain flexibility in your organization system, opt for removable labels that can be easily changed or updated as needed. This is particularly useful if you frequently update your scrapbooking tool collection or if you tend to switch between different storage containers. With removable labels, you can adapt your organization system to accommodate any changes or expansions in your toolkit.
7. Maximizing vertical space
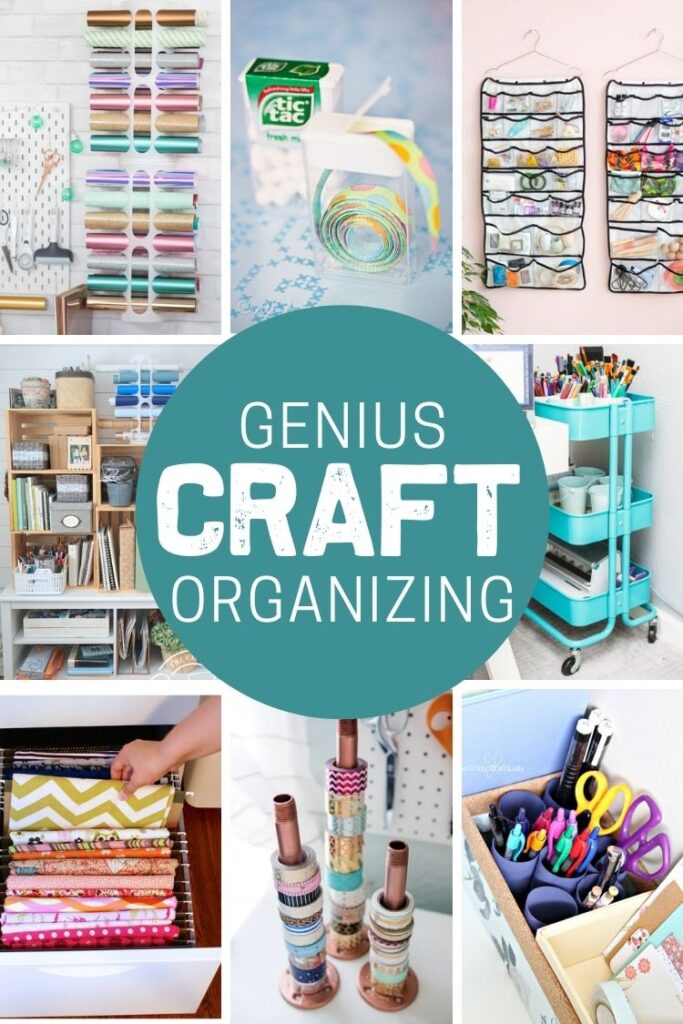
When organizing your scrapbooking toolkit, don’t forget to utilize vertical space. Shelves and wall-mounted organizers are excellent storage solutions to optimize the available space in your crafting area. Install shelves on the walls of your workspace to hold baskets or bins of various sizes, where you can store papers, stickers, or larger cutting tools. This not only frees up your valuable workspace but also provides easy access to frequently used items.
Hanging pockets or shoe organizers are practical options for storing smaller scrapbooking supplies such as pens, markers, or adhesive rolls. Hang these organizers on the back of doors or on the wall and utilize the pockets to neatly store your tools. This allows you to efficiently utilize vertical space while keeping your supplies visible and easily accessible.
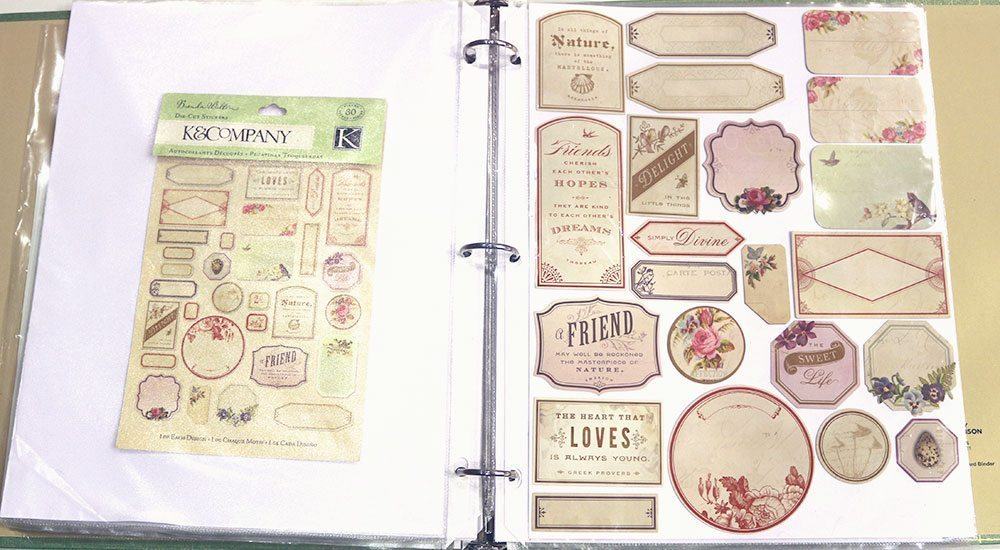
One often overlooked aspect of vertical organization in scrapbooking is storing paper and cardstock. Rather than stacking them horizontally, consider storing them vertically in magazine holders or file organizers. This not only saves space but also makes it easier to browse through your collection of papers and cardstock when selecting materials for your projects.
8. Creating a portable toolkit
For those who enjoy taking their scrapbooking projects on the go or simply prefer to have their tools readily available in one place, creating a portable toolkit is essential. Invest in a sturdy and compact storage case that is specifically designed for scrapbooking supplies. Look for cases that have multiple compartments, adjustable dividers, and secure closures to keep your tools organized and protected during transport.
When assembling your portable toolkit, include essential tools and materials that you frequently use. This may include scissors, adhesive tapes, a mini paper trimmer, a bone folder, and a selection of pens and markers. Additionally, consider including some versatile embellishments and patterned papers that can be easily incorporated into various projects. By having a portable toolkit, you can take your creativity anywhere and work on your scrapbooking projects whenever inspiration strikes.
Ensure that the portable toolkit is easily transportable by choosing a case with a comfortable handle or a shoulder strap. This will allow you to carry your scrapbooking supplies with ease, whether you’re attending a scrapbooking workshop, enjoying a crafting retreat, or simply working on your projects in a different part of your home. A portable toolkit offers convenience and flexibility, ensuring that you never have to compromise on your creative endeavors.
9. Establishing a routine
To maintain an organized and clutter-free crafting space, it’s important to establish a routine for organizing and cleaning up after each crafting session. Set aside dedicated time to declutter, return tools to their designated storage containers, and tidy up your workspace. This routine not only ensures that your tools are always in their proper place but also helps create a positive and focused environment for your future crafting sessions.
By incorporating regular organization and clean-up into your crafting routine, you prevent clutter from accumulating and overwhelming your workspace. It also saves you time in the long run since you’ll know exactly where to find specific tools and materials when you start a new project. A tidy workspace promotes efficiency and allows you to fully immerse yourself in the creative process of scrapbooking.
10. Seeking inspiration from others
To further enhance your organization efforts and explore new ideas, seek inspiration from the scrapbooking community. Join online crafting communities and forums where fellow crafters share their organizing techniques and storage solutions. This is a great way to discover innovative ideas and learn from the experiences of others who have tackled similar organizational challenges.
Additionally, attending craft fairs or workshops provides an opportunity to see firsthand how other crafters set up their organizational systems. Take note of their displays, storage solutions, and overall workspace layout. Absorbing these ideas and adapting them to your own needs can significantly improve the efficiency and organization of your own scrapbooking toolkit.
Keep up-to-date with scrapbooking blogs and follow social media accounts that focus on scrapbooking organization and storage. These resources often share tips, tricks, and product recommendations for creating an efficient and visually appealing crafting space. By staying connected to the scrapbooking community, you can continuously be inspired and motivated to improve your own organization system.
In conclusion, organizing your scrapbooking toolkit is essential for maintaining an efficient and clutter-free crafting space. By grouping your tools by type, utilizing wall storage, using clear containers, designating specific areas, implementing drawer dividers, establishing a labeling system, maximizing vertical space, creating a portable toolkit, establishing a routine, and seeking inspiration from others, you can create a well-organized and functional crafting environment. With everything in its proper place, you can unleash your creativity without the hassle of searching for tools and materials. Happy scrapbooking!

